This post contains affiliate links. This means I earn a small commission at no cost to you. You can view my affiliate disclosure here.
There’s something undeniably magical about pulling a golden, crackling loaf of sourdough from the oven: the warm aroma filling your kitchen, the crust perfectly crisp, the soft, tangy crumb inviting you to take your first bite. If you’ve ever dreamed of baking your own sourdough but felt intimidated by starter maintenance, timing, and finicky techniques, this guide is for you. Baking sourdough doesn’t have to be complicated. With a few simple steps and a little patience, you can make a loaf you’ll be proud to share or keep all to yourself.

Why Sourdough Is Worth the Effort
Sourdough is more than just bread. Its natural fermentation gives it a rich, tangy flavor, a chewy texture, and incredible keeping power. Unlike store-bought bread, sourdough is easier to digest and packed with beneficial bacteria that help your gut. And best of all, making sourdough connects you with a centuries-old tradition, transforming the simple act of baking into a comforting, almost meditative experience.
My sourdough was flat and business was slow

When I first started homesteading, my sourdough was dense and flat, my garden struggled, and it seemed like I was scrambling to get people to notice my business, let alone, buy my products. And for a time, I burnt out.
After years of trial and error, analyzing hundreds of businesses from other sectors, and just pure grit...
I created a free Zero to Homestead Skool Community: a place where homesteaders of all levels share wins, troubleshoot challenges, and get guidance from experienced peers. By joining, you’ll access step-by-step guides to build traditional skills (sourdough, fresh milled flour, traditional foods, preserving, livestock, gardening, and more) plus full courses, workshops, and homestead business-building resources with a supportive network to help your homestead thrive.
Step 1: Get Your Starter Ready
Your starter is the heart of sourdough. If you don’t have one yet, don’t worry, you can easily make your own with just flour, water, and patience. For beginners, a 100% hydration starter is easiest to work with. This simply means equal parts flour and water by weight.
Basic Starter Routine:
- Mix 50g flour + 50g water in a jar.
- Cover loosely and leave at room temperature.
- Feed daily with equal parts fresh flour and water.
- After 5–7 days, it should be bubbly and smell pleasantly tangy.
Tip: A healthy starter doubles in size in 4–6 hours. This is your cue that it’s ready for baking.
Step 2: Simple Ingredients for a Foolproof Loaf
For your first loaf, keep it simple. You’ll need:
- 500g bread flour (high protein helps with structure)
- 350g water (lukewarm is best)
- 100g active starter
- 10g salt
No fancy add-ins: just good flour, water, and a little patience. The magic comes from the fermentation, not complicated ingredients.
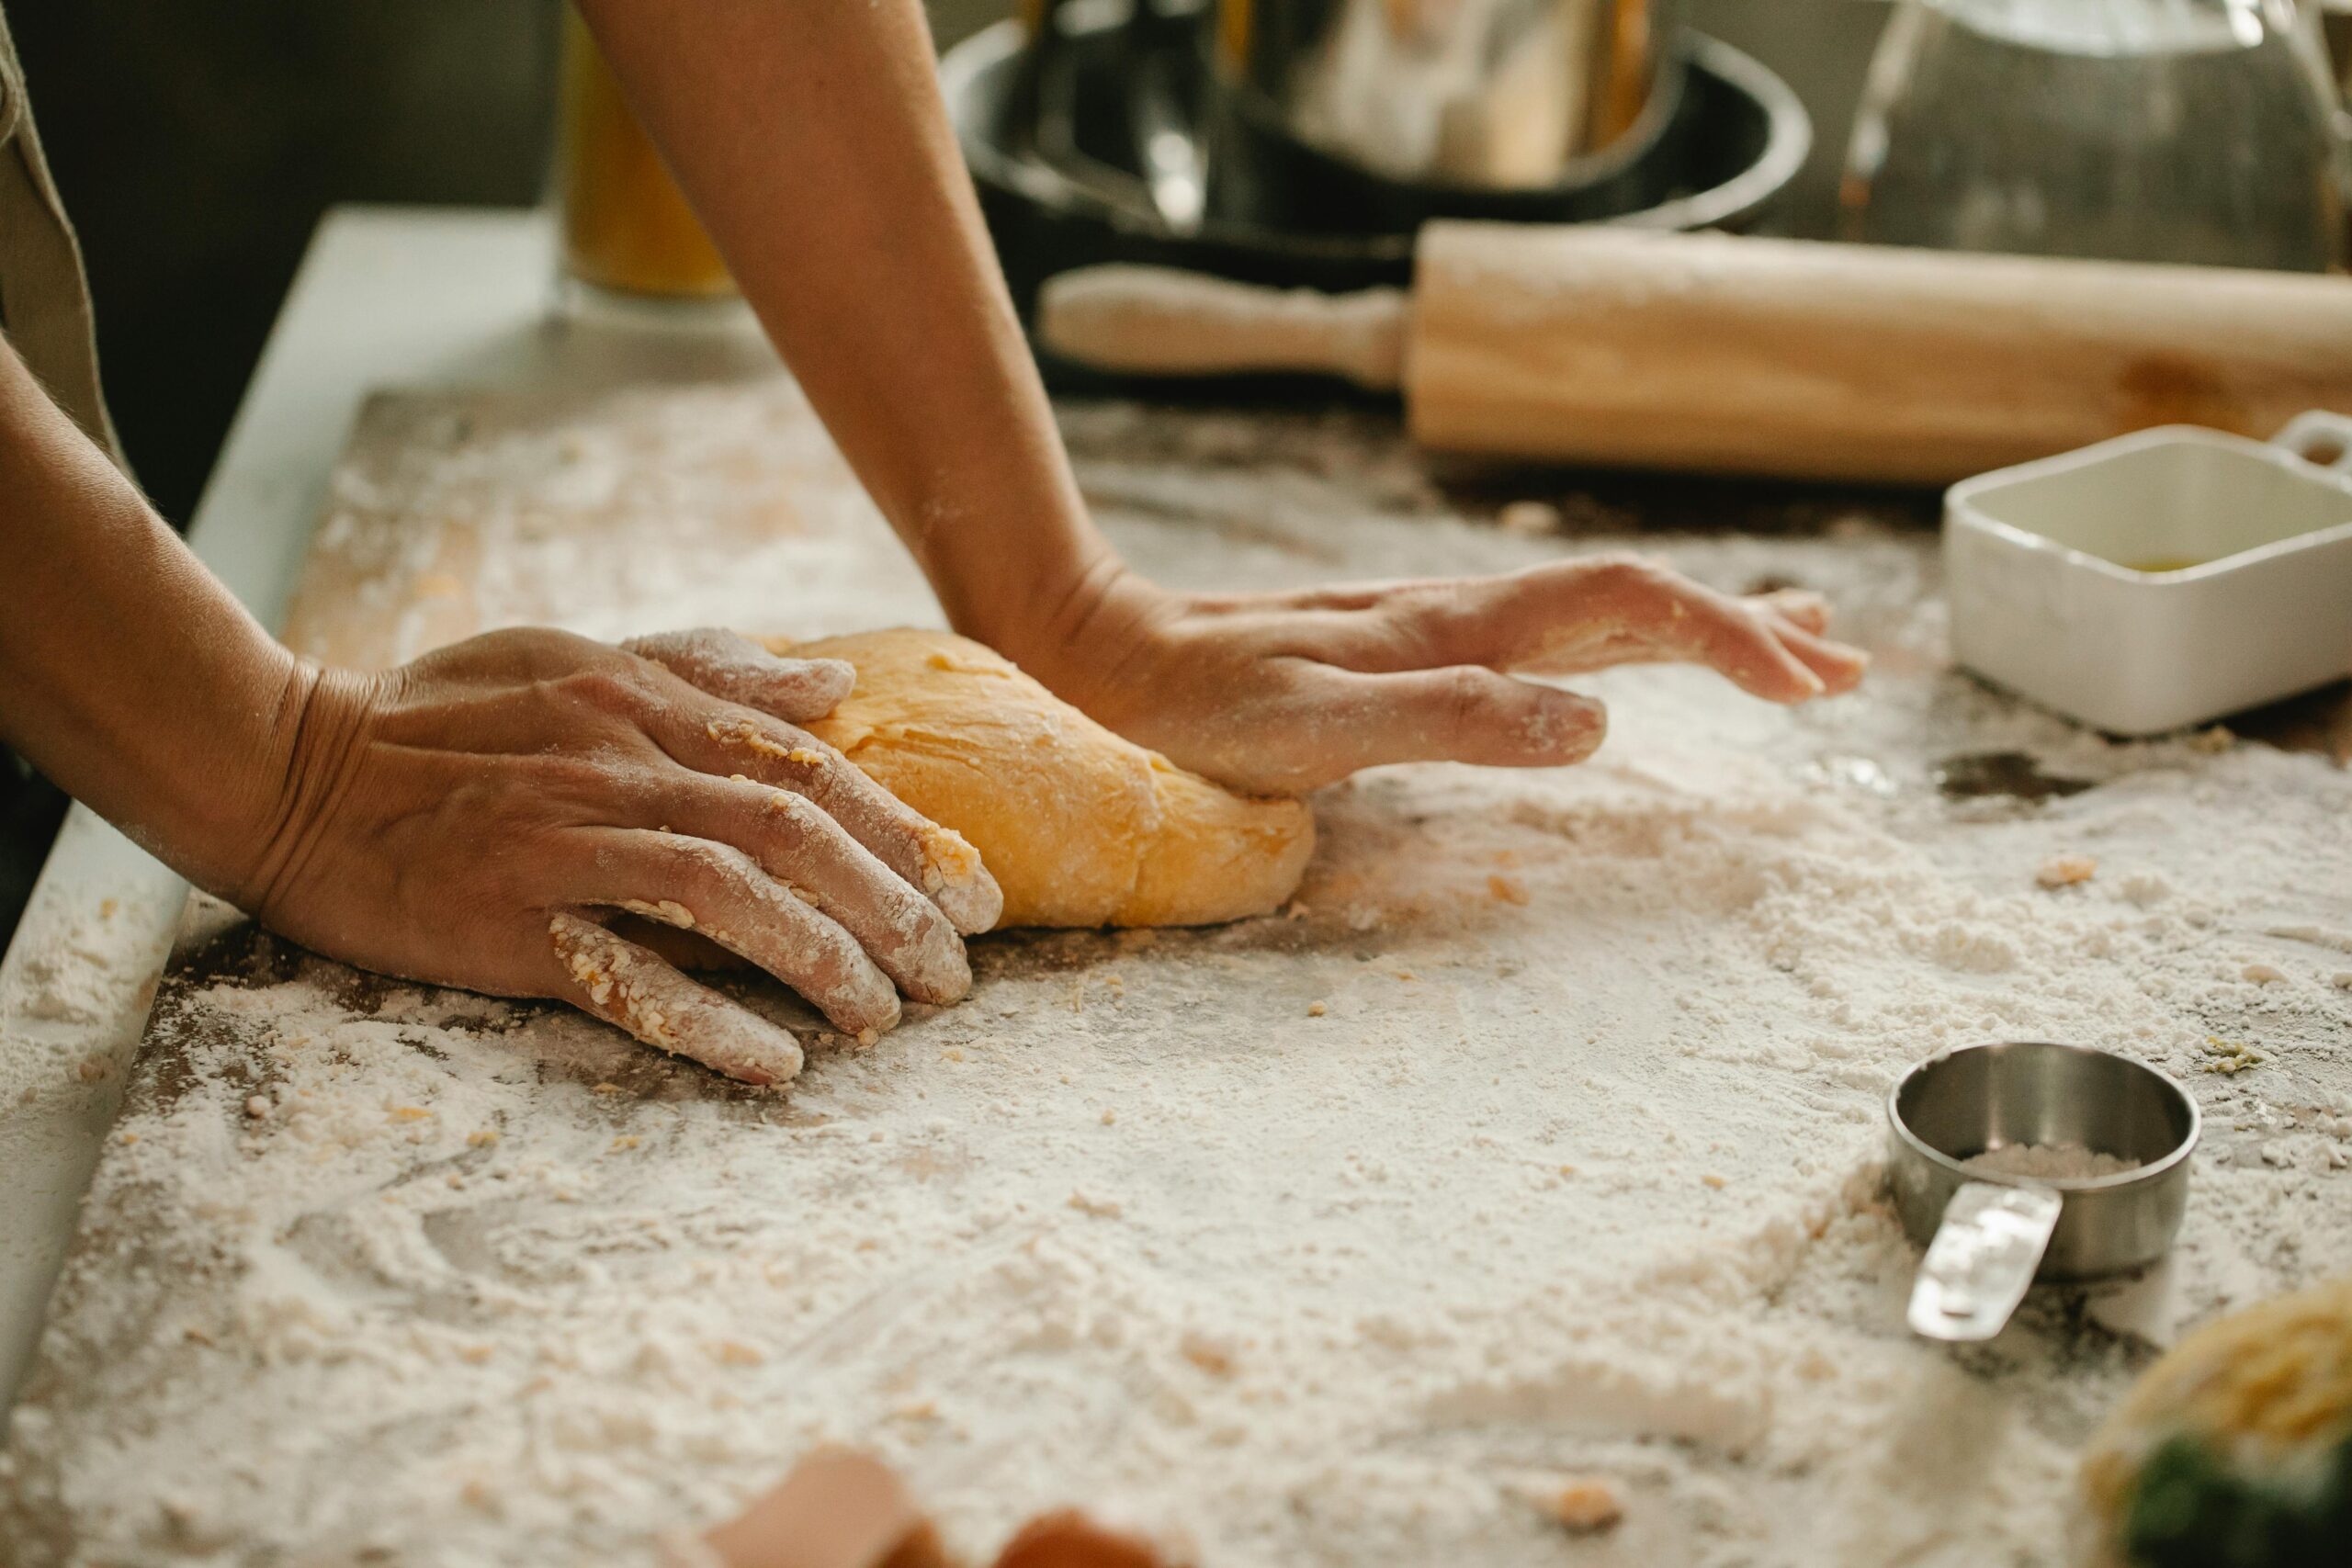
Step 3: Mixing and Autolyse
- In a large bowl, mix the flour and water until no dry bits remain. Let it rest for 30–60 minutes. This is called the autolyse. It helps the gluten develop naturally and makes your dough easier to handle.
- Add your starter and salt, then fold gently until fully incorporated.
At this stage, the dough may feel sticky and loose. That’s perfect: it will transform with a little love and time.
Step 4: Bulk Fermentation Made Easy
Bulk fermentation is where your dough develops flavor and structure. Here’s a no-stress method:
- Cover the bowl and let the dough rest at room temperature for 4–6 hours.
- Every 30–60 minutes during the first 2–3 hours, perform a stretch and fold: gently lift one edge of the dough and fold it over itself. Rotate the bowl and repeat 3–4 times.
You’ll notice the dough becoming smoother, airier, and more elastic. This is where the magic happens.
Step 5: Shaping Your Loaf
Once the bulk fermentation is complete, gently turn your dough onto a lightly floured surface. Shape it into a tight ball or oval, depending on your baking vessel. Don’t worry about perfection; rustic charm is part of sourdough’s beauty.
- Place the shaped dough into a proofing basket or a bowl lined with a floured towel.
- Cover and let it rest for 1–2 hours at room temperature or overnight in the fridge for a slower, more flavorful rise.
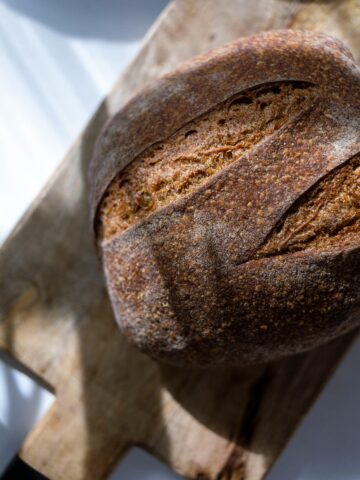
Step 6: Baking Your First Sourdough
For a beautiful crust, a hot oven and steam are key.
- Preheat your oven to 475°F (245°C) with a Dutch oven inside.
- Carefully transfer your dough to the hot Dutch oven.
- Score the top with a sharp knife or razor. This helps it expand without bursting.
- Bake covered for 20–25 minutes, then remove the lid and bake for another 20 minutes until golden and crisp.
Let the loaf cool on a wire rack for at least an hour. This may test your patience, but slicing too early can lead to a gummy crumb.

Troubleshooting Tips for Beginners
- Dense bread? Your starter might not have been fully active or your dough underproofed.
- Too sour? Shorten the fermentation time or refrigerate overnight.
- Flat loaf? Make sure your dough is properly shaped and tensioned.
Remember, each loaf is a learning experience. Even imperfect bread is delicious!
Final Thoughts
Baking sourdough is a journey, not a race. With these simple, stress-free steps, you’ll discover the joy of homemade bread that’s rustic, flavorful, and deeply satisfying. Start small, trust your starter, and savor each loaf you create because it’s as much about the process as it is about the bread itself.
Ready to start? Gather your flour, water, and starter, and let the comforting, rustic art of sourdough baking fill your kitchen.
If you make this recipe, be sure to leave me a star rating and a comment below. Share what you made and tag me on Instagram@keepingitholistic! For more simple sourdough recipes & guidance, small-space gardening tips, and cozy, slow living inspiration, subscribe to my newsletter and follow me on YouTube and Instagram!
📖 Recipe

Beginner Sourdough Bread: A Simple, No-Stress Loaf
Equipment
- 1 medium jar
- 1 large mixing bowl
- 1 banneton basket (or large bowl)
Ingredients
For the Starter (if you don’t have one ready):
- 50 g all-purpose or bread flour
- 50 g water room temperature
- Feed daily with equal parts flour & water until bubbly 5–7 days
For the Loaf:
- 500 g bread flour
- 350 g water lukewarm
- 100 g active sourdough starter
- 10 g salt
Instructions
Prepare Your Starter (if needed)
- Mix 50g flour and 50g water in a jar.
- Cover loosely and leave at room temperature.
- Feed daily with equal parts flour and water.
- After 5–7 days, it should be bubbly and double in size within 4–6 hours.
Mix & Autolyse
- In a large bowl, combine 500g flour and 350g water. Mix until no dry flour remains.
- Let rest 30–60 minutes (autolyse).
- Add 100g starter and 10g salt, fold gently until incorporated.
Bulk Fermentation
- Cover bowl and let dough rest 4–6 hours at room temperature.
- During the first 2–3 hours, perform stretch-and-folds every 30–60 minutes (lift one edge of the dough and fold over itself, rotating the bowl 3–4 times).
Shaping the Loaf
- Turn dough onto a floured surface.
- Shape into a tight ball or oval.
- Place in a floured proofing basket or bowl.
- Cover and proof 1–2 hours at room temperature or overnight in the fridge.
Baking
- Preheat oven to 475°F (245°C) with a Dutch oven inside.
- Transfer dough to the hot Dutch oven.
- Score the top with a sharp knife.
- Bake covered 20–25 mins, then remove lid and bake 20 mins until golden brown.
- Cool on a wire rack for at least 1 hour before slicing.
Notes

Hi, I’m Victoria!
I document our homesteading journey on YouTube: covering sourdough, fresh milled bread, gardening, and simple living. Click here to watch, learn, and be inspired to start your own homestead at home.


Comments
No Comments