This post contains affiliate links. This means I earn a small commission at no cost to you. You can view my affiliate disclosure here.
Only taking a couple minutes to prep, you'll love these flavorful and probiotic-rich berries! Fermenting berries is a great way to extend your harvest.

Fermented berries may sound somewhat unappealing when you first think about it, but you'll actually be surprised. These are not in anyway like lacto-fermented dill pickles or sauerkraut.
The truth is that when you make fermented fruit, you are taking the flavor up a notch. I'm talking about the some of the most flavorful berries you have ever tasted. This is especially true if you are used to buying your berries from the store.
Unlike fermented veggies, you don't stick your berries into a super salty brine. I ferment my berries in a similar way to how I ferment my cranberries, I ferment them in honey. The honey makes them a little sweeter, but, more importantly, the honey naturally preserves the fruit.
You see, honey has actually been used to preserve food for thousands of years because it inhibits harmful bacteria growth.
Fermenting berries also extends the life of your berries. Once they are fermented, they will last in the fridge for a couple months.
How To Use Fermented Berries
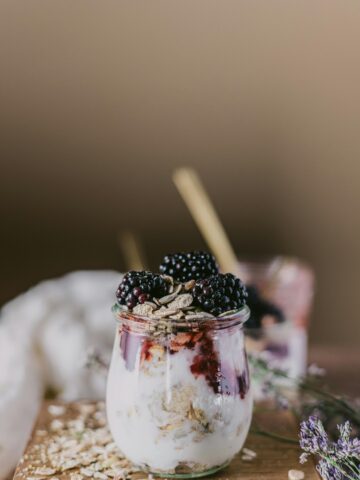
My favorite way to use fermented berries is to blend them up and make a jam-like spread with them for my morning toast. You can also use them as a topping for oatmeal, on yogurt, on ice cream, and on granola. Sometimes I'll add them to a smoothie.

Equipment
It is very important to wash your hands and to sterilize any equipment you use:
- Glass Mason Jar: I use a wide mouth quart sized jar or half gallon sized jar for this recipe. For the lid you can use a fermentation lid, a cloth with a rubber band to secure it, or take a jar lid and fit it loosely on top.
- Wooden Spoon: I use the handle to stir the brine. Do not use anything made of metal because it could interfere with your ferment.
- Fermentation Weight (optional but recommended): You can use a fermentation weight to submerge the berries below the brine to prevent mold, however I have not had an issue with mold when I don't use a weight.
Ingredients
- Berries: Any type of berry or a mix of berries will work. I recommend buying organic and fresh fruit, but you can use frozen fruit. If you use frozen fruit, the berries may expire sooner.
- Honey: You will need raw, unfiltered honey and use organic honey if possible.
- Unrefined Salt: Use a natural, unrefined salt such as sea salt, Himalayan pink salt, Redmond's real salt, or Celtic sea salt.
- Filtered Water: The chlorine in tap water can knock out both good and bad bacteria, so you'll want to make sure your water is filtered.
How To Make Fermented Berries
Make sure your berries have been rinsed off before starting.
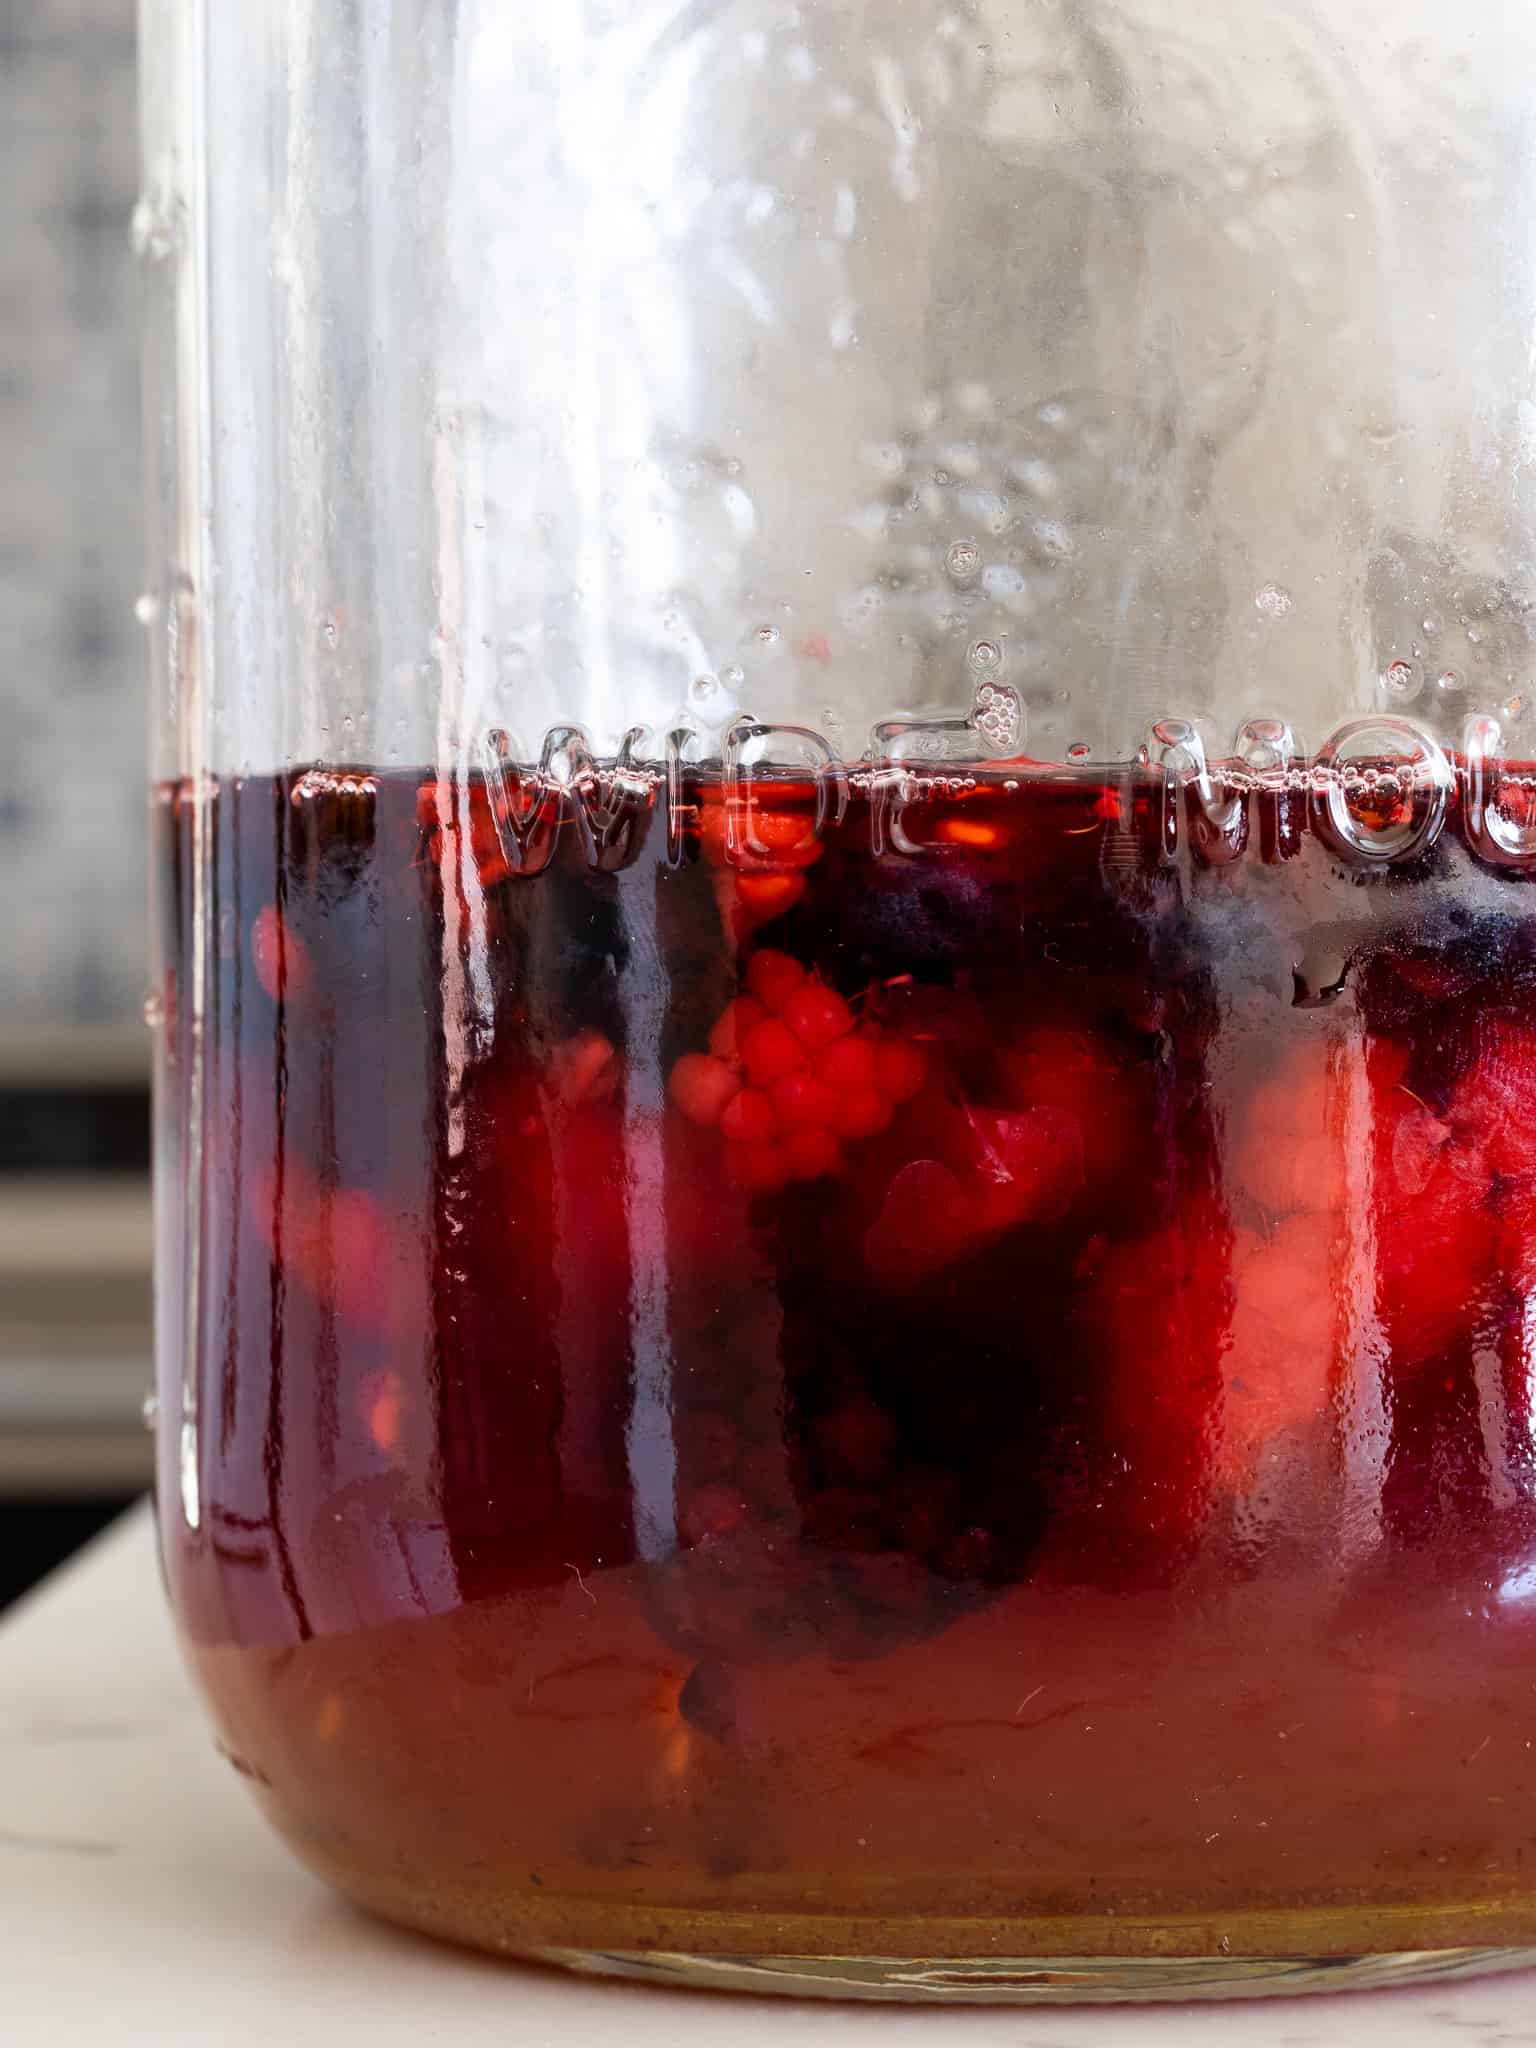
Pour 2 cups of filtered water into a mason jar and add a half cup of honey and one teaspoon of salt. Give this a good stir.
Next, add a cup of berries and add more filtered water if needed. Place a fermentation weight on top to push the berries below the brine (optional but recommended).
Place your berries in a cool, dry spot for 24-48 hours. You may want to taste one after 24 hours to see if it is ready (it will be slightly sour and there will be bubbles on the surface). Keep in mind that in the warmer months, your berries will ferment faster.
When your berries are done fermenting, secure a lid on top and place the berries into the fridge until you are ready to eat them. They should last for 2-3 months (but you'll probably eat them sooner!).
If you make this recipe, be sure to leave me a star rating and a comment below. Share what you made and tag me on Instagram@keepingitholistic! For more simple sourdough recipes & guidance, small-space gardening tips, and cozy, slow living inspiration, subscribe to my newsletter and follow me on YouTube and Instagram!
📖 Recipe

Fermented Berries
Equipment
- 1 glass mason jar half gallon or quart size
- 1 wooden spoon
- 1 fermentation weight optional but recommended
Ingredients
- 1 cup washed berries organic, if possible
- ½ cup honey raw, unrefined and organic, if possible
- 1 teaspoon unrefined salt
- 2 cups filtered water
Instructions
- In a mason jar, combine the filtered water, honey and salt. Use the handle of a wooden spoon to give this a good stir.
- Add the berries to the jar and place a fermentation weight over the berries to submerge them below the brine.
- Loosely place the lid on top of the jar and place the jar in a cool, dry place for 24-48 hours (see note).
- When your berries are ready, place them in the fridge where they should be good for 2-3 months.


Dayna Staton says
Love this!