This post contains affiliate links. This means I earn a small commission at no cost to you. You can view my affiliate disclosure here.
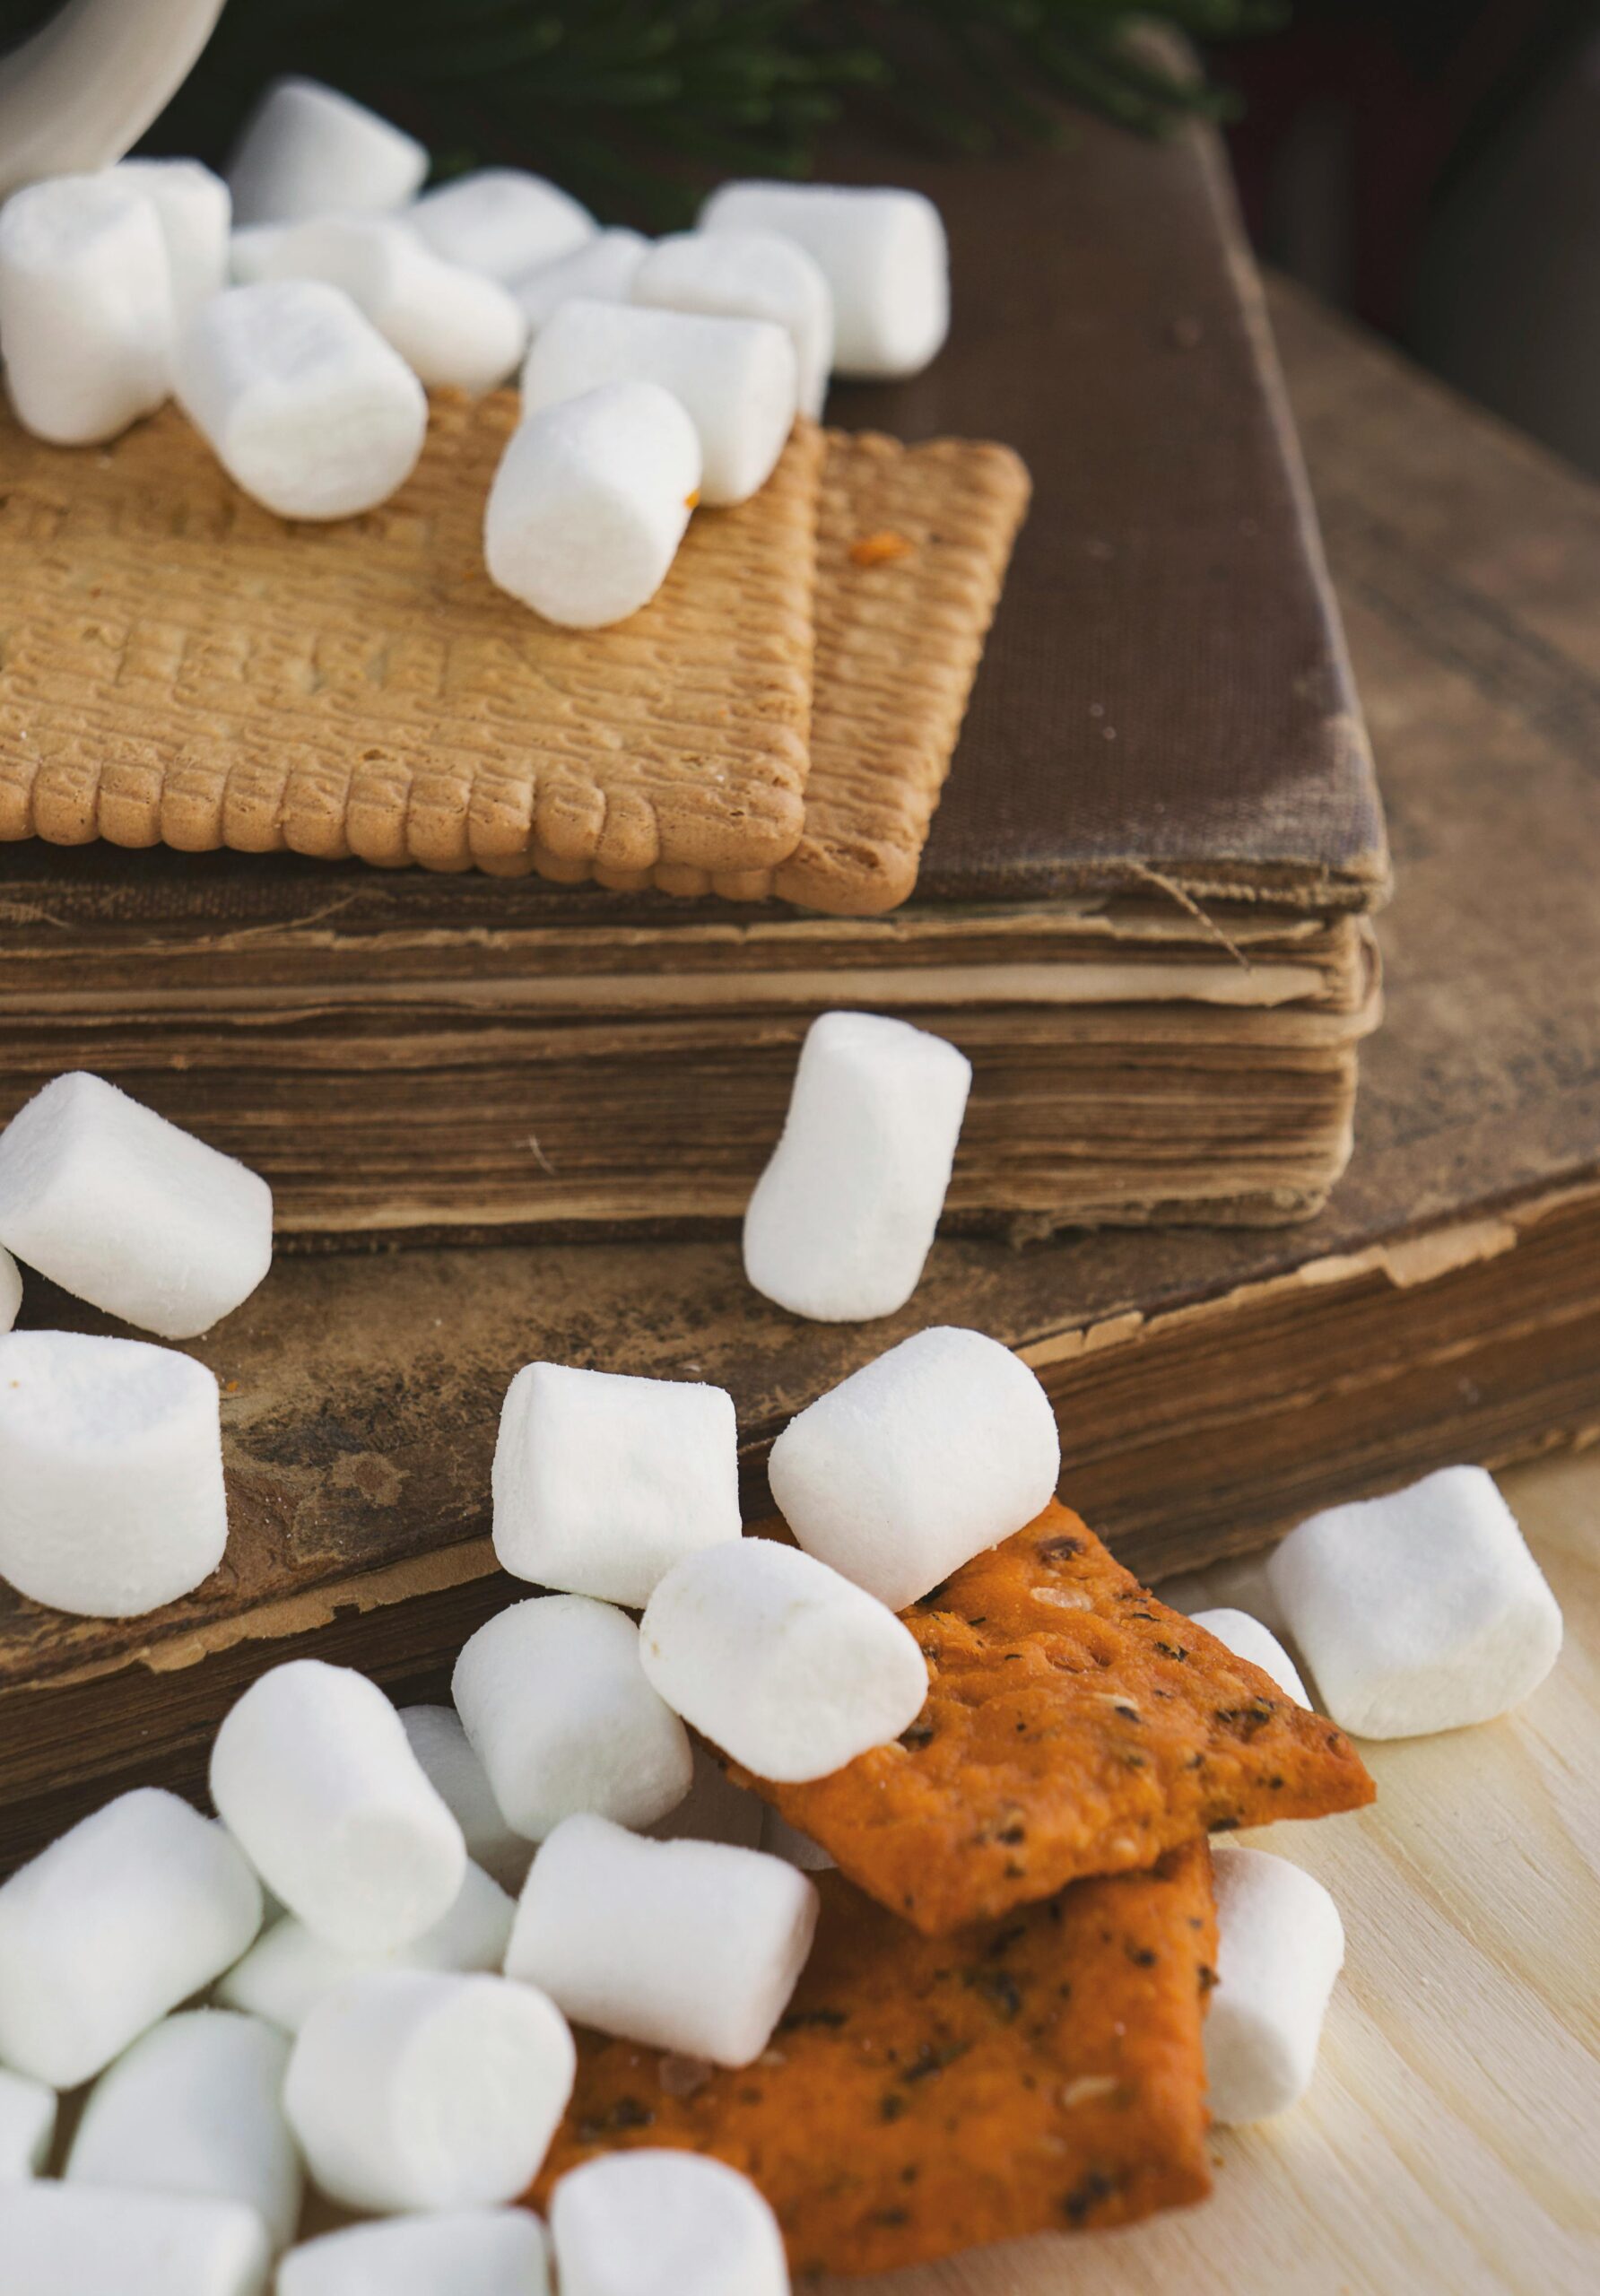
In a quiet kitchen filled with the scent of warm honey and vanilla, healthy homemade marshmallows come together like soft little clouds of old-fashioned sweetness. Healthy homemade marshmallows take a childhood favorite and bring it back to its roots, using simple, nourishing ingredients instead of corn syrup, artificial flavors, and preservatives. The result is a tender, pillowy sweet that feels both comforting and wholesome: perfect for stirring into hot cocoa, toasting by the fire, or tucking into lunchboxes as a special treat.

Long before store shelves were lined with brightly colored bags of candy, confections were made at home with real ingredients and patient hands. These from-scratch marshmallows follow that same tradition, sweetened naturally and made with grass-fed gelatin for a dessert that is gentle on the body and rich in old-fashioned charm.
Why Make Healthy Marshmallows at Home?
Most conventional marshmallows rely on corn syrup, refined sugar, and artificial additives. Making them at home allows you to choose every ingredient and create a treat that’s both clean and nourishing.
Benefits of healthy homemade marshmallows include:
- Naturally sweetened with honey or maple syrup
- Made with high-quality gelatin for protein and gut support
- Free from artificial colors, flavors, and preservatives
- Soft, fluffy texture without corn syrup
- Easy to customize with vanilla, peppermint, or cinnamon
Healthy Homemade Marshmallows Recipe
Ingredients
- 3 tablespoons grass-fed gelatin
- 1 cup cold filtered water, divided
- 1 cup raw honey or pure maple syrup
- 1 teaspoon vanilla extract
- Pinch of sea salt
- Arrowroot powder or tapioca starch, for dusting
Instructions
- Bloom the Gelatin
Pour ½ cup cold water into the bowl of a stand mixer. Sprinkle gelatin evenly over the water and allow it to bloom for 5–10 minutes. - Heat the Sweetener
In a saucepan, combine honey (or maple syrup), remaining ½ cup water, and sea salt. Heat over medium, stirring until dissolved. Bring to a gentle boil and cook until the mixture reaches 240°F (soft-ball stage). - Whip Until Fluffy
With the mixer running on low, slowly pour the hot syrup into the bloomed gelatin. Gradually increase speed to high and whip for 8–10 minutes, until thick, glossy, and tripled in volume. - Add Vanilla
Mix in vanilla extract during the last minute of whipping. - Pour and Set
Line an 8×8-inch pan with parchment paper and lightly dust with arrowroot powder. Pour the marshmallow mixture into the pan and smooth the top. Let set at room temperature for 4–6 hours, or until firm. - Cut and Dust
Lift the set marshmallow slab from the pan, cut into squares, and toss lightly in arrowroot or tapioca starch to prevent sticking.
Tips for Perfect Homemade Marshmallows
- Use a candy thermometer for best results.
- Do not rush the whipping time; proper aeration creates the fluffy texture.
- Store marshmallows in an airtight container at room temperature for up to 1 week.
Healthy Homemade Marshmallows FAQ
Can I make marshmallows without corn syrup?
Yes! This recipe uses raw honey or pure maple syrup instead of corn syrup, creating naturally sweet marshmallows without artificial ingredients.
What kind of gelatin should I use?
Grass-fed, unflavored gelatin works best. It provides structure, a fluffy texture, and added nutritional benefits like collagen and protein.
Do homemade marshmallows taste different than store-bought?
They do. Homemade marshmallows have a softer, creamier texture and a gentle honey-vanilla flavor instead of the overly sweet, artificial taste of commercial ones.
Can I use maple syrup instead of honey?
Absolutely. Both honey and pure maple syrup work well. Honey gives a classic marshmallow flavor, while maple syrup adds a subtle caramel note.
How long do homemade marshmallows last?
Stored in an airtight container at room temperature, they stay fresh for up to one week. For longer storage, refrigerate for up to two weeks.
Why are my marshmallows sticky?
Homemade marshmallows naturally contain more moisture. Lightly dusting them with arrowroot powder or tapioca starch prevents sticking.
Can I toast these marshmallows?
Yes, but gently. Because they are naturally sweetened, they brown faster than store-bought marshmallows. Toast over low heat for best results.
Are homemade marshmallows healthy?
While still a treat, they are much healthier than conventional marshmallows since they are free from corn syrup, artificial colors, and preservatives, and contain protein-rich gelatin.
Can I flavor them?
Yes. You can add peppermint extract, cinnamon, or even a little cocoa powder for variations.
Do I need a candy thermometer?
A thermometer helps ensure the syrup reaches the soft-ball stage (240°F), which is key for proper texture, though experienced candy makers can do it by visual cues.

A Sweet Tradition Worth Keeping
Making healthy homemade marshmallows is a small act of kitchen magic: transforming simple, wholesome ingredients into soft, airy clouds of sweetness. Whether enjoyed in hot cocoa on a cold evening, toasted by the fire, or tucked into a homemade treat box, these marshmallows carry the warmth of tradition and the comfort of real food made by hand.
If you make this recipe, be sure to leave me a star rating and a comment below. Share what you made and tag me on Instagram@keepingitholistic! For more simple sourdough recipes & guidance, small-space gardening tips, and cozy, slow living inspiration, subscribe to my newsletter and follow me on YouTube and Instagram!
📖 Recipe

Healthy Homemade Marshmallows
Equipment
- 1 stand mixer (or hand mixer)
- 1 saucepan
- 1 8x8 baking pan
Ingredients
- 3 tablespoon grass-fed gelatin
- 1 cup cold filtered water divided
- 1 cup raw honey or pure maple syrup
- 1 teaspoon vanilla extract
- Pinch of sea salt
- Arrowroot powder or tapioca starch for dusting
Instructions
Bloom the Gelatin:
- Pour ½ cup cold water into the bowl of a stand mixer. Sprinkle gelatin over the water and let bloom for 5–10 minutes.
Heat the Sweetener:
- In a saucepan, combine honey (or maple syrup), remaining ½ cup water, and sea salt. Heat until dissolved, then bring to a gentle boil. Cook until the mixture reaches 240°F (soft-ball stage).
Whip the Marshmallows:
- With the mixer on low, slowly pour the hot syrup into the bloomed gelatin. Gradually increase to high speed and whip for 8–10 minutes until thick, glossy, and fluffy.
Add Vanilla:
- Mix in vanilla during the final minute of whipping.
Set:
- Line an 8×8-inch pan with parchment paper and dust lightly with arrowroot powder. Pour marshmallow mixture into pan and smooth the top. Let set at room temperature for 4–6 hours.
Cut and Dust:
- Lift marshmallows from the pan, cut into squares, and toss lightly with arrowroot or tapioca starch to prevent sticking.

Comments
No Comments