This post contains affiliate links. This means I earn a small commission at no cost to you. You can view my affiliate disclosure here.
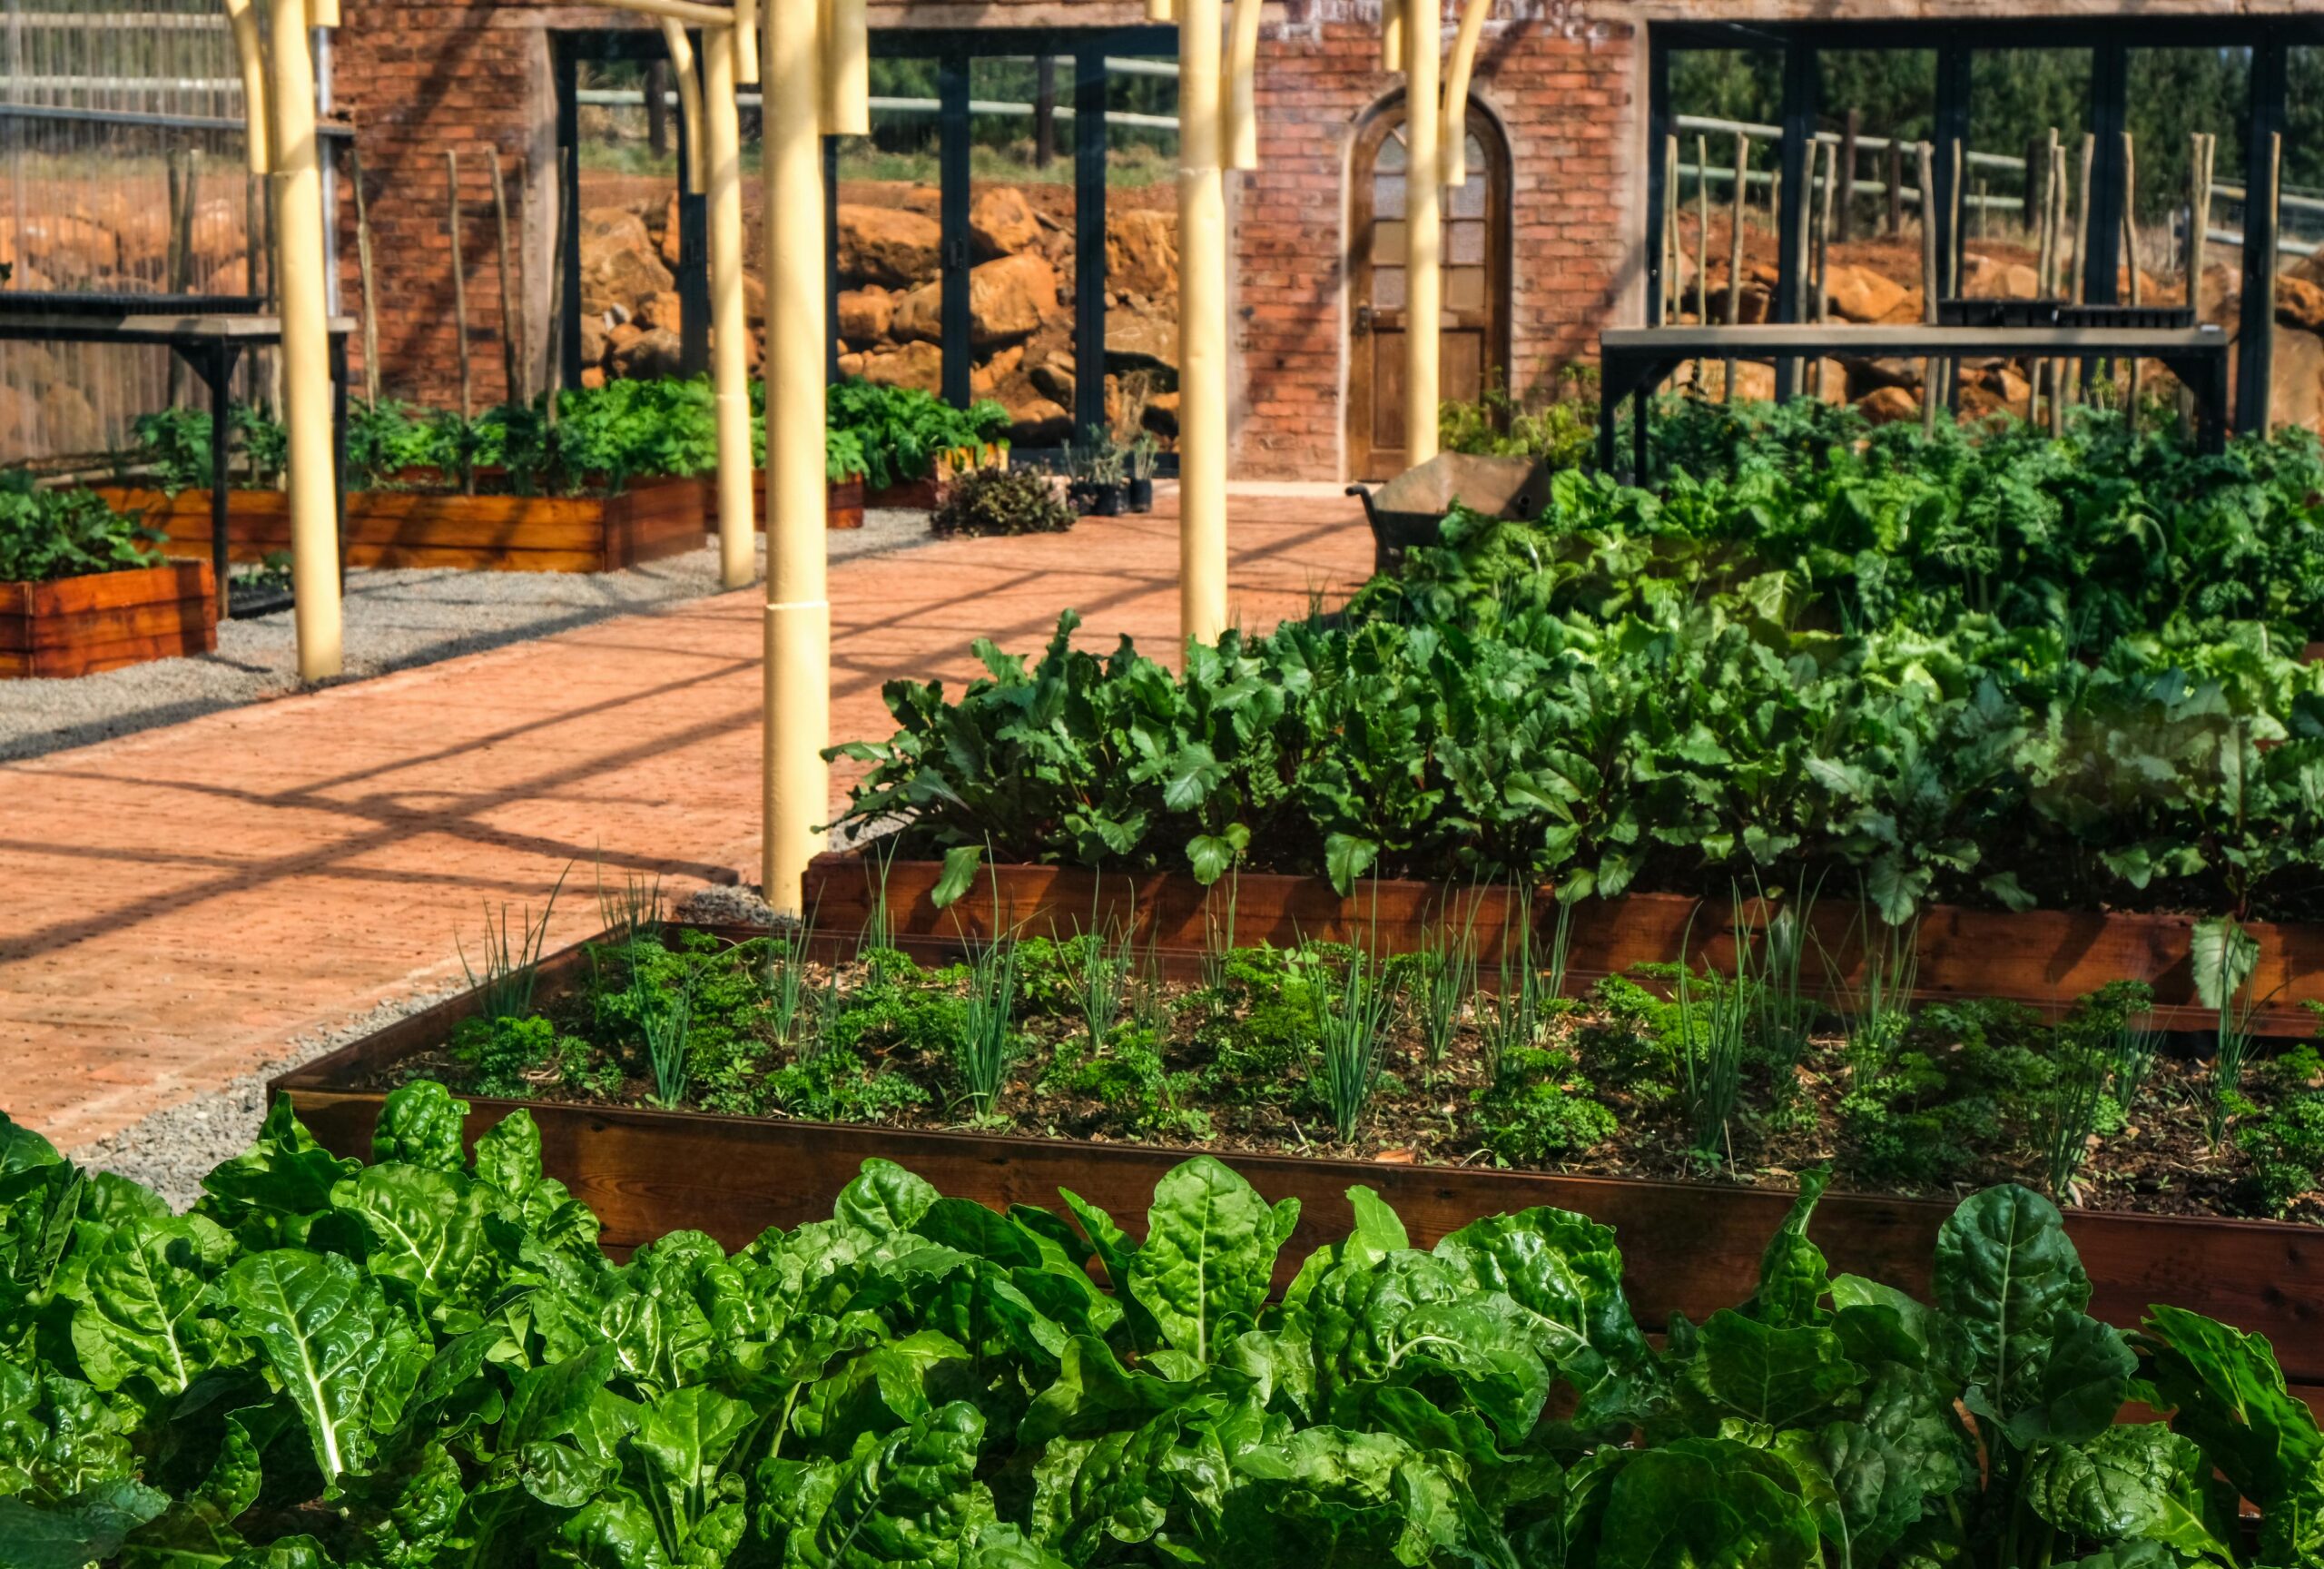
Raised garden beds are one of the easiest and most effective ways to start a productive garden. Whether you’re dealing with poor soil, limited space, or simply want a cleaner and more organized garden layout, raised beds offer better drainage, healthier plants, and easier maintenance.
In this guide, you’ll learn exactly how to build raised garden beds step by step and how to fill them properly for long-term success, even if you’re a complete beginner.
Why Choose Raised Garden Beds?
Before we dive into the how-to, let’s look at why raised beds are so popular:
- Improved soil drainage and aeration
- Better control over soil quality
- Fewer weeds and pests
- Earlier planting in spring
- Easier on your back and knees
If you want a garden that’s easier to manage and more productive, raised beds are a great investment.
Step 1: Choose the Right Location
Location is key to a thriving raised garden bed.
Look for a spot that has:
- At least 6–8 hours of full sun per day
- Level ground
- Easy access to water
- Good airflow
Avoid placing beds under trees or near large roots, which can steal nutrients and moisture from your plants.
Step 2: Decide on Raised Bed Size and Height
The most common raised bed sizes are:
- 4 feet wide (easy to reach from both sides)
- 6–8 feet long
- 10–12 inches tall for shallow-rooted plants
- 16–24 inches tall for root crops or improved accessibility
Keeping beds no wider than 4 feet ensures you never have to step inside, which prevents soil compaction.
Step 3: Choose Safe Materials for Raised Garden Beds
When building raised garden beds, always use materials that are safe for growing food.
Best materials include:
- Untreated cedar or redwood (naturally rot-resistant)
- Douglas fir (budget-friendly, shorter lifespan)
- Steel
Birdies raised beds are what I'd recommend for quality metal raised beds. I previously used cheaper Amazon beds and they rusted within 3 years! Birdies beds are Australian made and last for decades. Click here for 5% off.
Avoid:
- Pressure-treated lumber
- Railroad ties
- Scrap wood of unknown origin
These can leach harmful chemicals into your soil.

Step 4: How to Build a Raised Garden Bed (Step by Step)
What You’ll Need:
- Lumber cut to size
- Deck screws or exterior wood screws
- Drill or screwdriver
- Level
Simple Building Steps:
- Lay out your boards in a rectangle on flat ground
- Screw the corners together securely
- Check that the bed is level
- Place the frame in its final location
For extra durability, you can add corner braces or line the interior with landscape fabric (optional).
Step 5: Prepare the Ground Under the Bed
Before filling your raised bed, prep the ground underneath.
- Remove grass or weeds
- Loosen the soil with a shovel or garden fork
- Lay down cardboard or newspaper to suppress weeds
This allows roots to grow deeper and improves drainage over time.
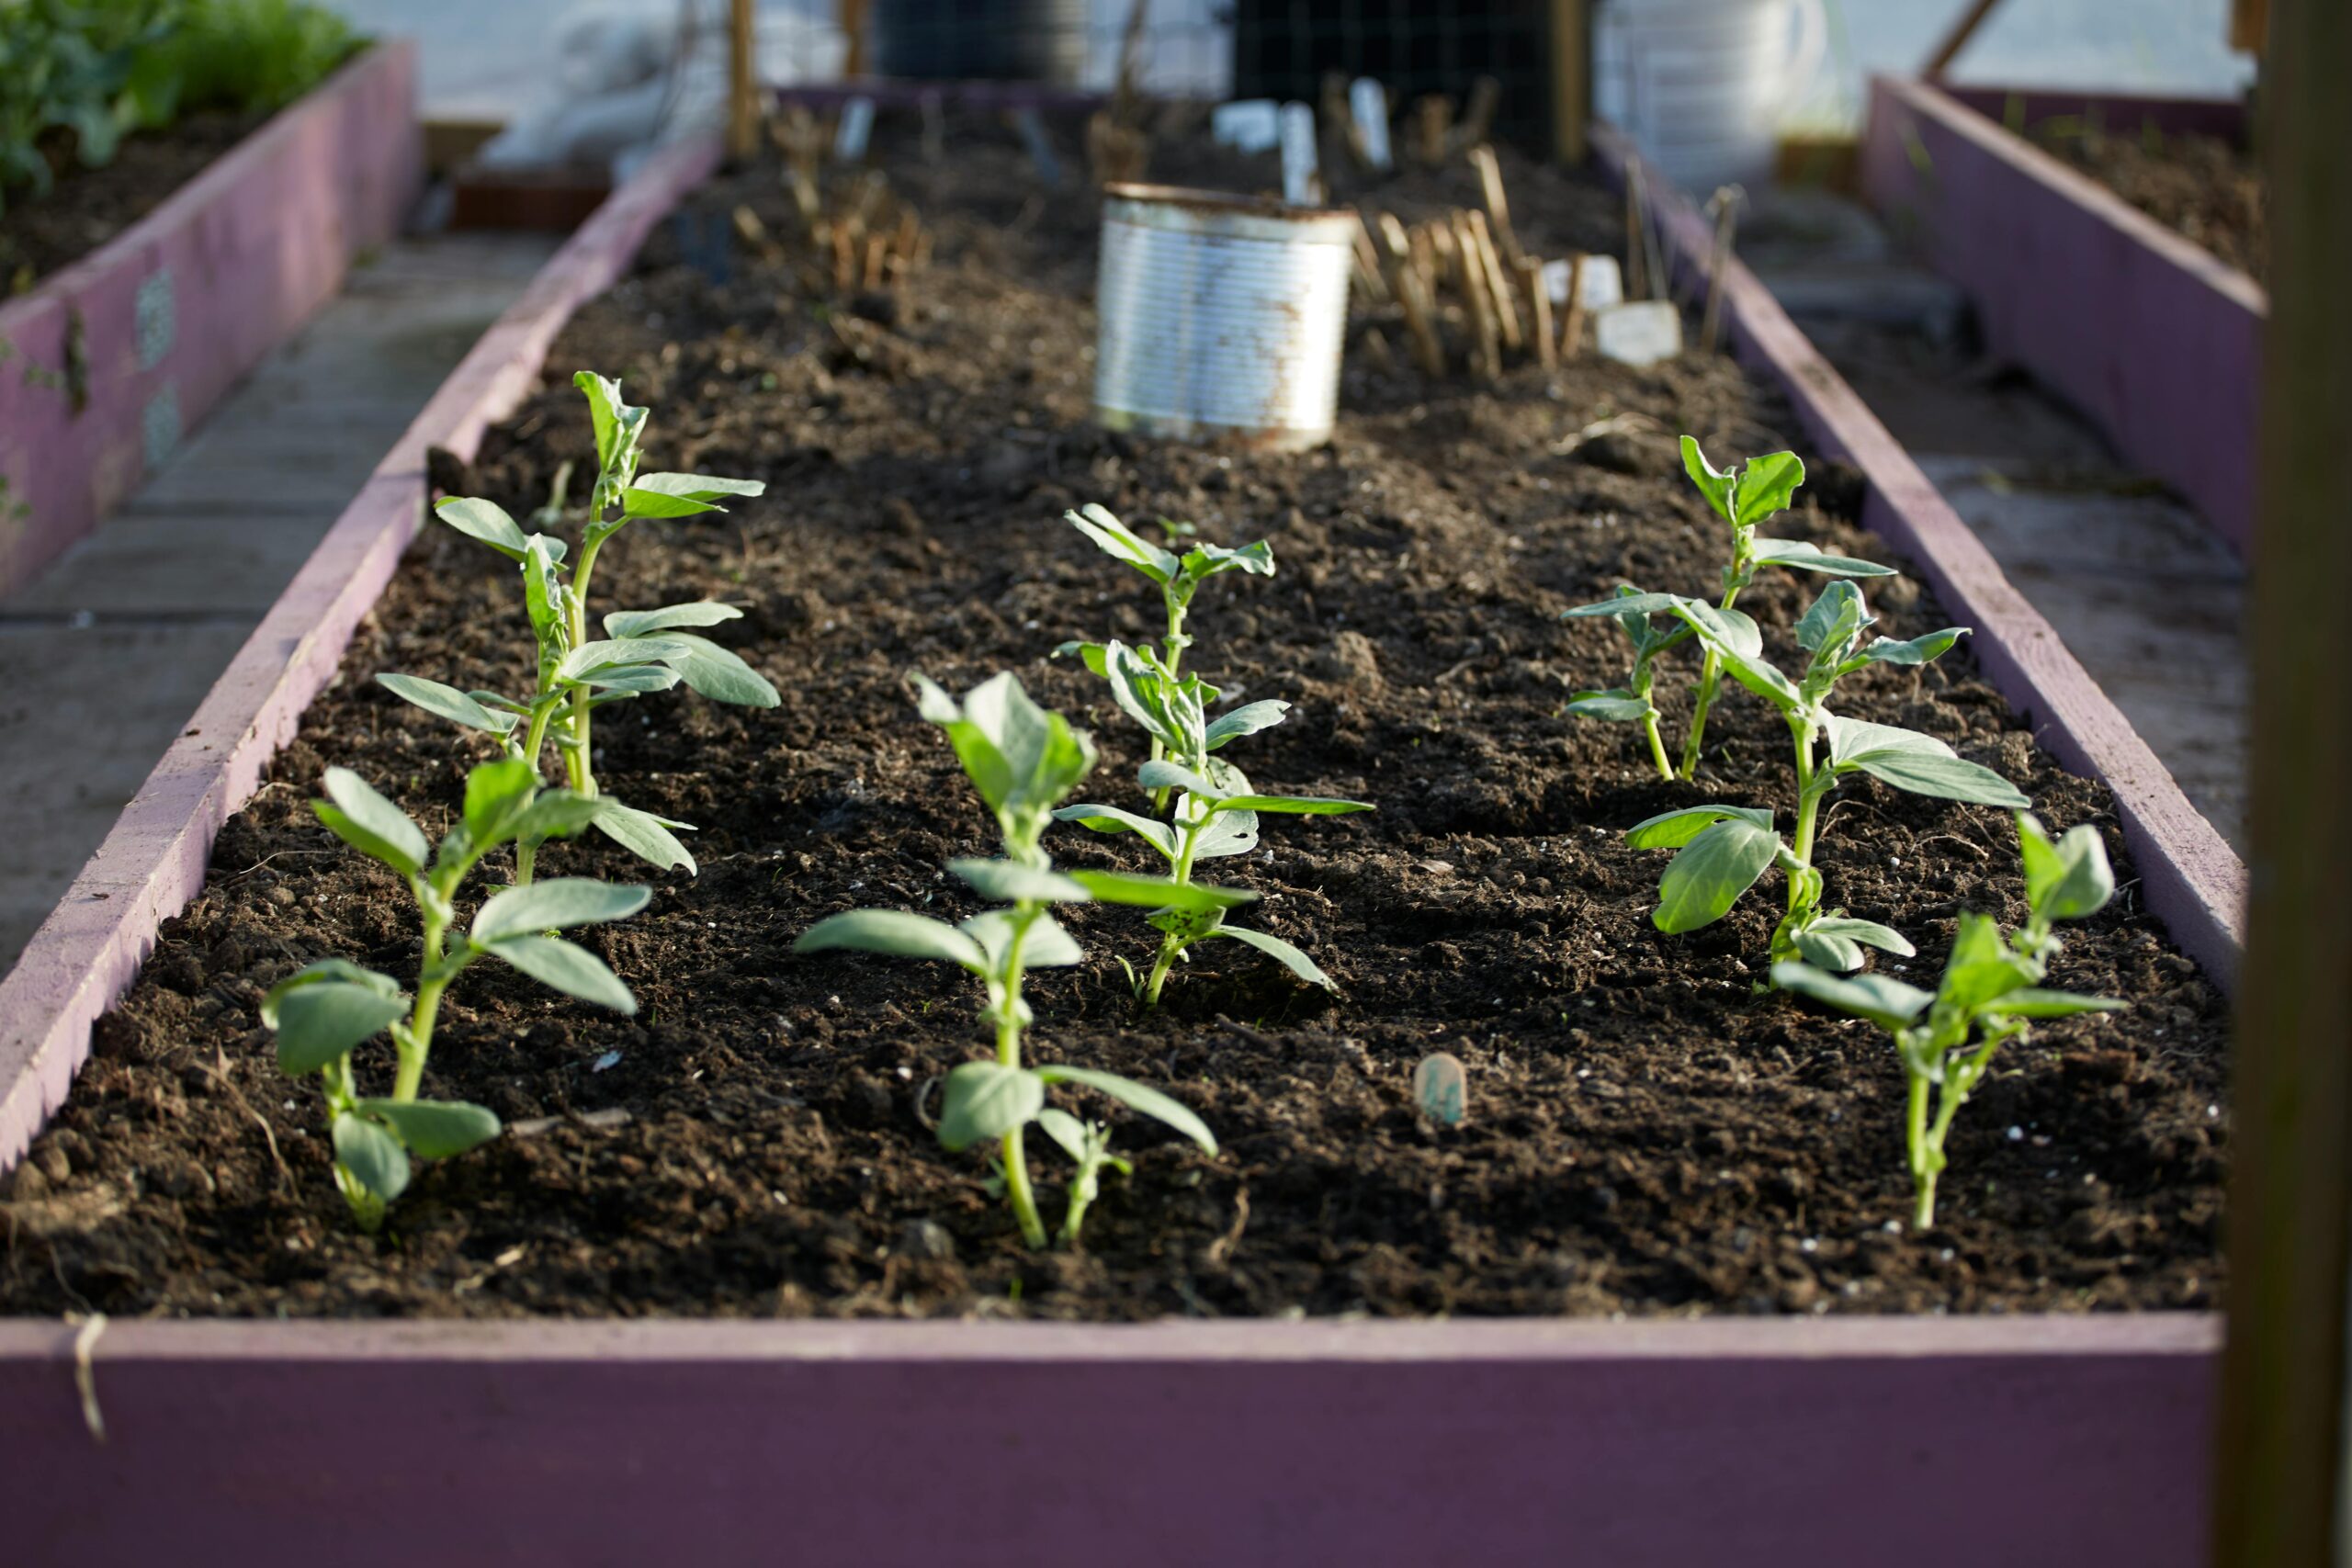
Step 6: How to Fill Raised Garden Beds (The Right Way)
Filling raised garden beds correctly is just as important as building them.
The Best Raised Bed Soil Mix
A simple and effective mix is often called the “raised bed soil recipe”:
- 50% high-quality topsoil
- 30% compost (homemade or store-bought)
- 20% organic matter (aged manure, leaf mold, or worm castings)
This blend provides good drainage, nutrients, and structure for healthy root growth.
Optional: Hugelkultur Method for Deep Beds
If your raised beds are tall (18 inches or more), you can save money by filling the bottom with organic materials.
Layer the bottom with:
- Logs or branches
- Sticks and wood chips
- Leaves or straw
Top with your soil mix. Over time, these materials break down and enrich the soil naturally.
What I Use in My Garden:
- Coast of Maine: top soil and lobster and crab compost
- Michigan Peat compost and manure
- worm castings (the darkest and richest soil amendment you'll find)
- coconut coir bricks (a more environmentally friendly alternative to peat moss)
- perlite
- straw for mulching (will grow a few grass weeds but it is very minimal)
- Down To Earth all purpose fertilizer ( I use twice per year in the spring and fall before planting) and azomite trace minerals (I use once per year before planting in the spring)
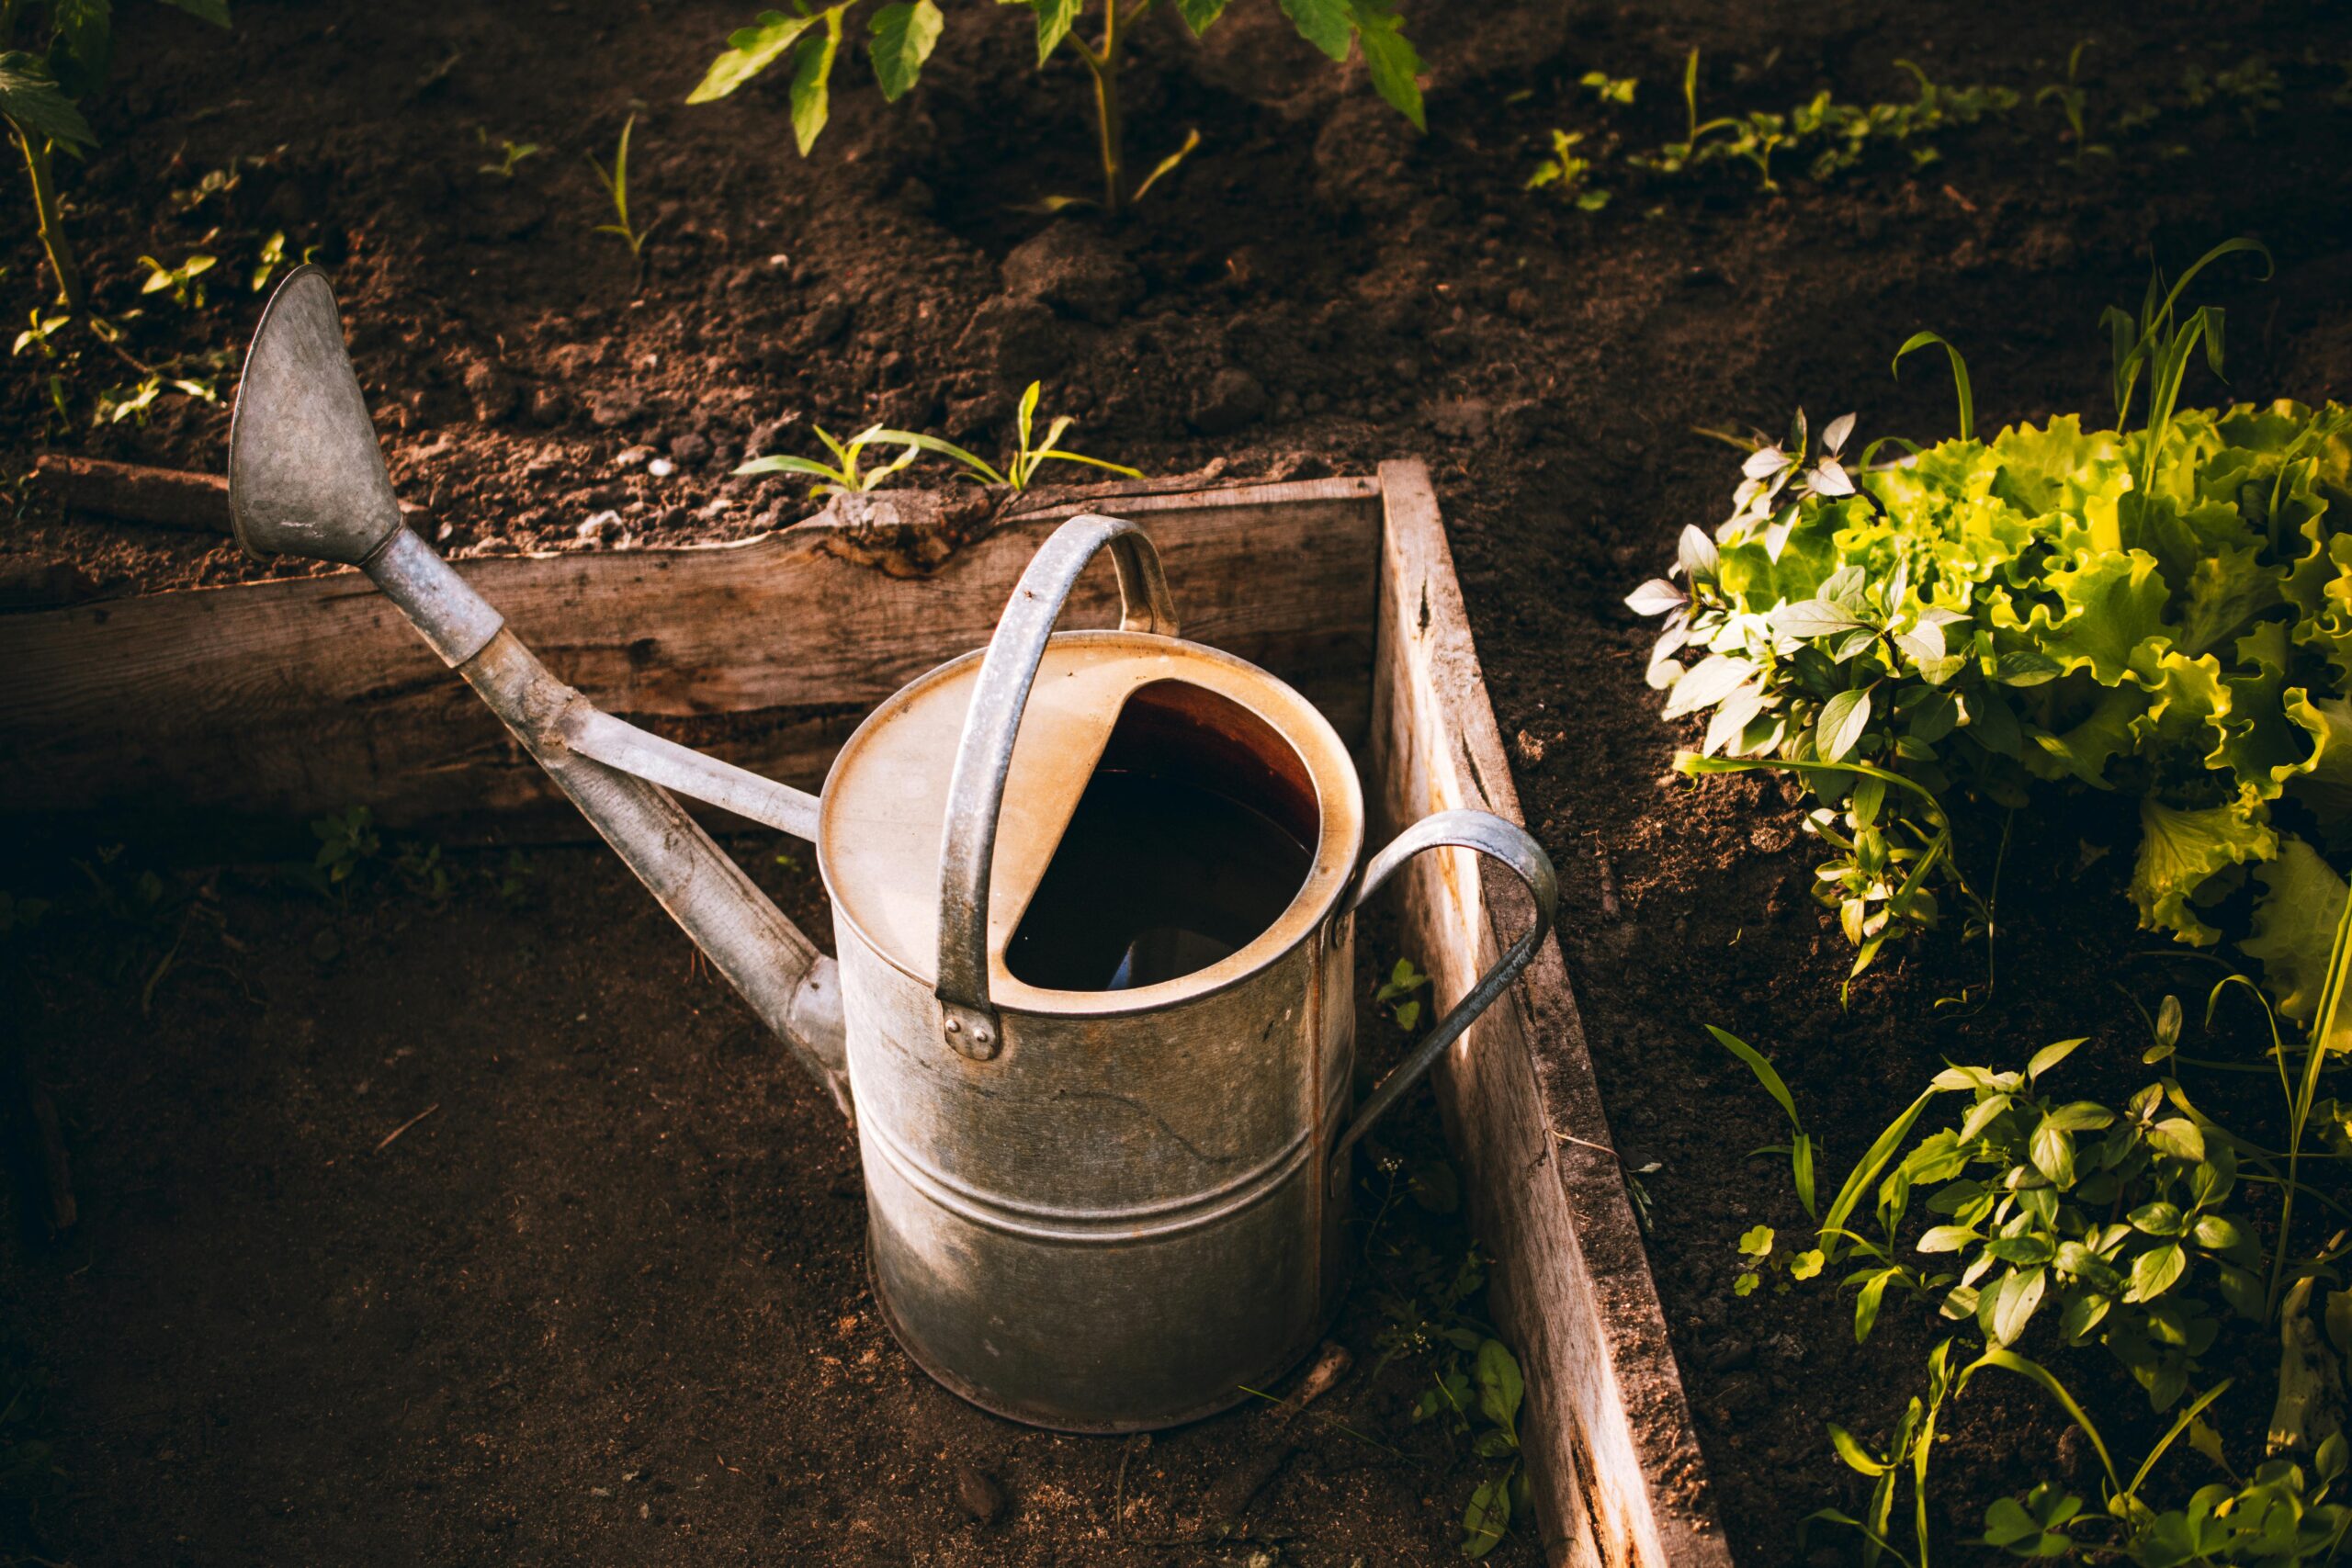
Step 7: Water and Let the Soil Settle
Once your raised bed is filled:
- Water thoroughly to settle the soil
- Top off with more soil if needed
- Add a layer of mulch to retain moisture
Your bed is now ready for planting.
What to Plant in Raised Garden Beds
Raised beds work well for almost everything, especially:
- Leafy greens
- Tomatoes and peppers
- Herbs
- Root crops like carrots and radishes
- Flowers for pollinators
Rotate crops each season to keep your soil healthy.
Common Mistakes to Avoid
- Using poor-quality soil or straight garden dirt
- Making beds too wide to reach comfortably
- Overfilling with compost only (can burn plants)
- Forgetting to water deeply
Avoiding these mistakes will save time, money, and frustration.
Final Thoughts on Building Raised Garden Beds
Building and filling raised garden beds is one of the best ways to set yourself up for gardening success. With the right materials, a thoughtful soil mix, and a sunny location, your raised beds can produce abundant harvests year after year.
Whether you’re growing vegetables, herbs, or flowers, raised garden beds give you control, flexibility, and healthier plants from the very beginning.


Comments
No Comments