This post contains affiliate links. This means I earn a small commission at no cost to you. You can view my affiliate disclosure here.
There’s a quiet kind of peace that comes from knowing your garden is being watered gently and faithfully even when the days are hot and your schedule is full.
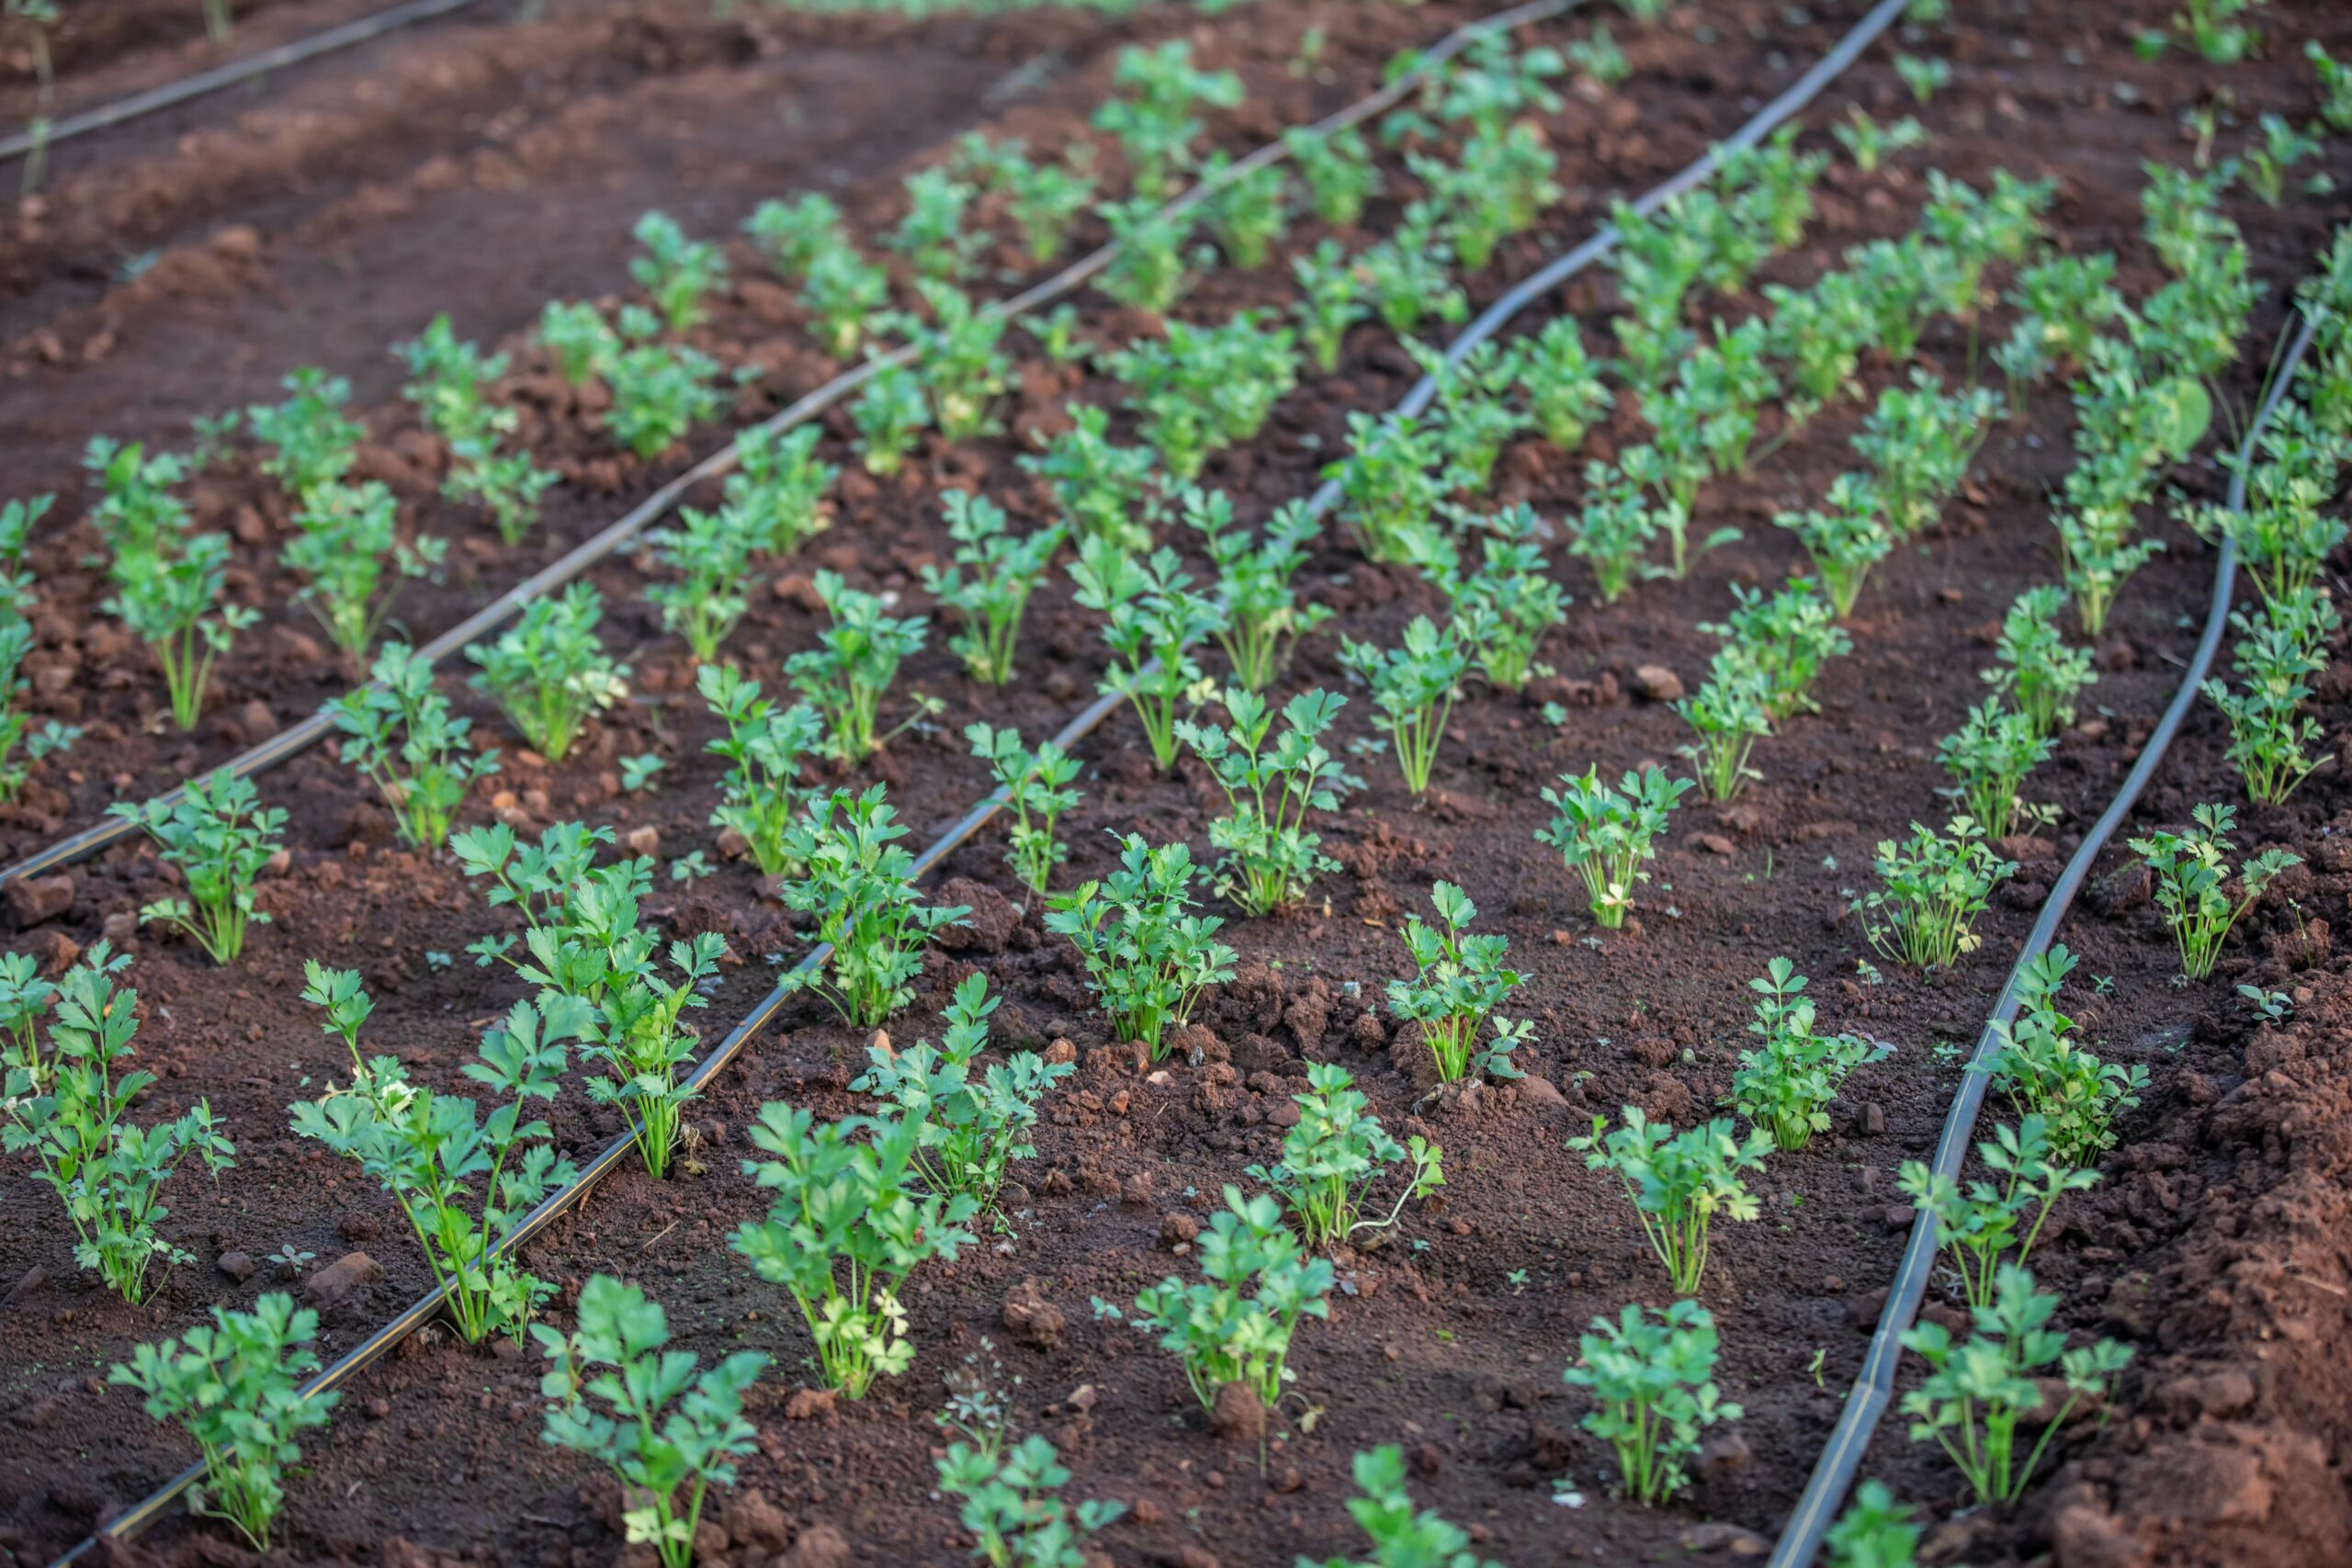
If you’ve been wondering how to install drip irrigation in your garden, this step-by-step guide will walk you through the process in a simple, beginner-friendly way. Drip irrigation saves water, reduces weeds, prevents disease, and makes tending your garden more manageable especially during the height of summer.
Whether you’re growing vegetables, flowers, or a small homestead garden, installing a drip irrigation system is one of the most practical upgrades you can make.
My sourdough was flat and business was slow

When I first started homesteading, my sourdough was dense and flat, my garden struggled, and it seemed like I was scrambling to get people to notice my business, let alone, buy my products. And for a time, I burnt out.
After years of trial and error, analyzing hundreds of businesses from other sectors, and just pure grit...
I created a free Zero to Homestead Skool Community: a place where homesteaders of all levels share wins, troubleshoot challenges, and get guidance from experienced peers. By joining, you’ll access step-by-step guides to build traditional skills (sourdough, fresh milled flour, traditional foods, preserving, livestock, gardening, and more) plus full courses, workshops, and homestead business-building resources with a supportive network to help your homestead thrive.
What Is Drip Irrigation?
Drip irrigation is a low-pressure watering system that delivers water slowly and directly to the base of your plants through tubing and emitters.
Instead of spraying water across leaves and pathways, drip irrigation waters roots directly, reduces evaporation, prevents fungal disease, saves time and water, and keeps weeds from thriving between rows.
It’s efficient, intentional watering: the kind that supports deep, healthy root systems.
Why Install Drip Irrigation?
Installing drip irrigation is especially helpful if you:
- Live in a dry or windy climate
- Want to reduce your water bill
- Struggle to keep up with daily watering
- Grow food crops that prefer consistent moisture
- Travel during the growing season
Once installed, drip systems can be connected to a timer: creating a reliable watering rhythm for your garden.
Supplies You’ll Need
Most drip irrigation systems include or require:
- ½-inch mainline tubing
- ¼-inch drip lines
- Emitters (0.5–1 gallon per hour is common for vegetables)
- Barbed connectors and tees
- End caps and mainline end caps.
- Mainline elbows and tees
Head assembly (get everything in one kit here):
Additional supplies:
- Landscape staples (to hold tubing in place)
- Optional: Automatic timer
- Optional: Y splitter
You can purchase a basic drip irrigation kit designed for raised beds or row gardens, then expand as needed.
Step-by-Step: How to Install Drip Irrigation
1. Plan Your Layout
Before unrolling tubing, sketch your garden beds.
Measure:
- Length of each bed
- Distance from water source
- Number of rows per bed
Place mainline tubing along the edge of beds and branch smaller drip lines down each row of plants.
Planning first prevents wasted tubing and awkward connections.
2. Connect to Your Water Source
At your outdoor spigot, attach in this order:
- Backflow preventer
- Pressure regulator
- Filter
- Hose adapter to mainline tubing
Drip irrigation requires low water pressure (usually around 25 PSI). The regulator protects your system from bursting.
3. Lay the Mainline Tubing
Run the ½-inch tubing along the main path of your garden beds.
Secure it with landscape staples to keep it in place.
Avoid sharp bends; gentle curves maintain steady water flow.

4. Add Drip Lines or Emitters
Use a hole punch tool to create openings in the mainline tubing.
Insert barbed connectors and attach ¼-inch drip lines running down each row.
Options include:
- Drip tape (ideal for row crops)
- Individual emitters (great for spaced plants like tomatoes or peppers)
Place emitters near the base of each plant.
5. Cap the Ends
Seal the end of each line using end caps or figure-8 clamps.
This prevents water from flowing out the end instead of through the emitters.
6. Test the System
Turn on the water slowly.
Check for leaks at connection points, even flow from emitters, and proper pressure.
Adjust placement if needed.
Setting a Watering Schedule
Most vegetable gardens benefit from deep watering 2–3 times per week rather than shallow daily watering.
Install a simple hose timer to automate watering early in the morning when evaporation is lowest.
Observe your plants and adjust based on soil moisture, weather conditions, and plant type. Drip irrigation makes consistency easier, but observation still matters.
Tips for Long-Term Success
- Flush lines at the start and end of each season.
- Check filters monthly.
- Inspect emitters for clogs.
- Winterize by draining tubing before freezing temperatures.
- Mulch over drip lines to reduce evaporation and protect tubing.
A little seasonal maintenance keeps your system running for years.
Drip Irrigation for Raised Beds vs. In-Ground Gardens
Raised Beds
Drip irrigation works beautifully in raised beds because:
- Soil drains quickly
- Beds dry out faster
- Tubing stays organized
Use grid-style layouts to ensure even coverage.
In-Ground Rows
For traditional row gardens, run drip tape or parallel lines down each crop row.
This method dramatically reduces wasted water between rows.

Common Drip Irrigation Mistakes to Avoid
- Skipping the pressure regulator
- Using too many emitters on one line
- Ignoring water pressure limits
- Not securing tubing
- Forgetting to flush debris
Small setup details make a big difference in performance.
Is Drip Irrigation Worth It?
If you value water conservation, healthier plants, fewer weeds, less daily labor, and more consistent harvests, then yes, installing drip irrigation is one of the most worthwhile improvements you can make. It turns watering from a daily chore into a dependable system, and systems are what make homesteading sustainable.

Hi, I’m Victoria!
I document our homesteading journey on YouTube: covering sourdough, fresh milled bread, gardening, and simple living. Click here to watch, learn, and be inspired to start your own homestead at home.

Comments
No Comments