

This post contains affiliate links. This means I earn a small commission at no cost to you. You can view my affiliate disclosure here.
When the air turns crisp and the days grow shorter, I love a jar of homemade elderberry syrup tucked into the fridge: dark, rich, and made with your own hands.
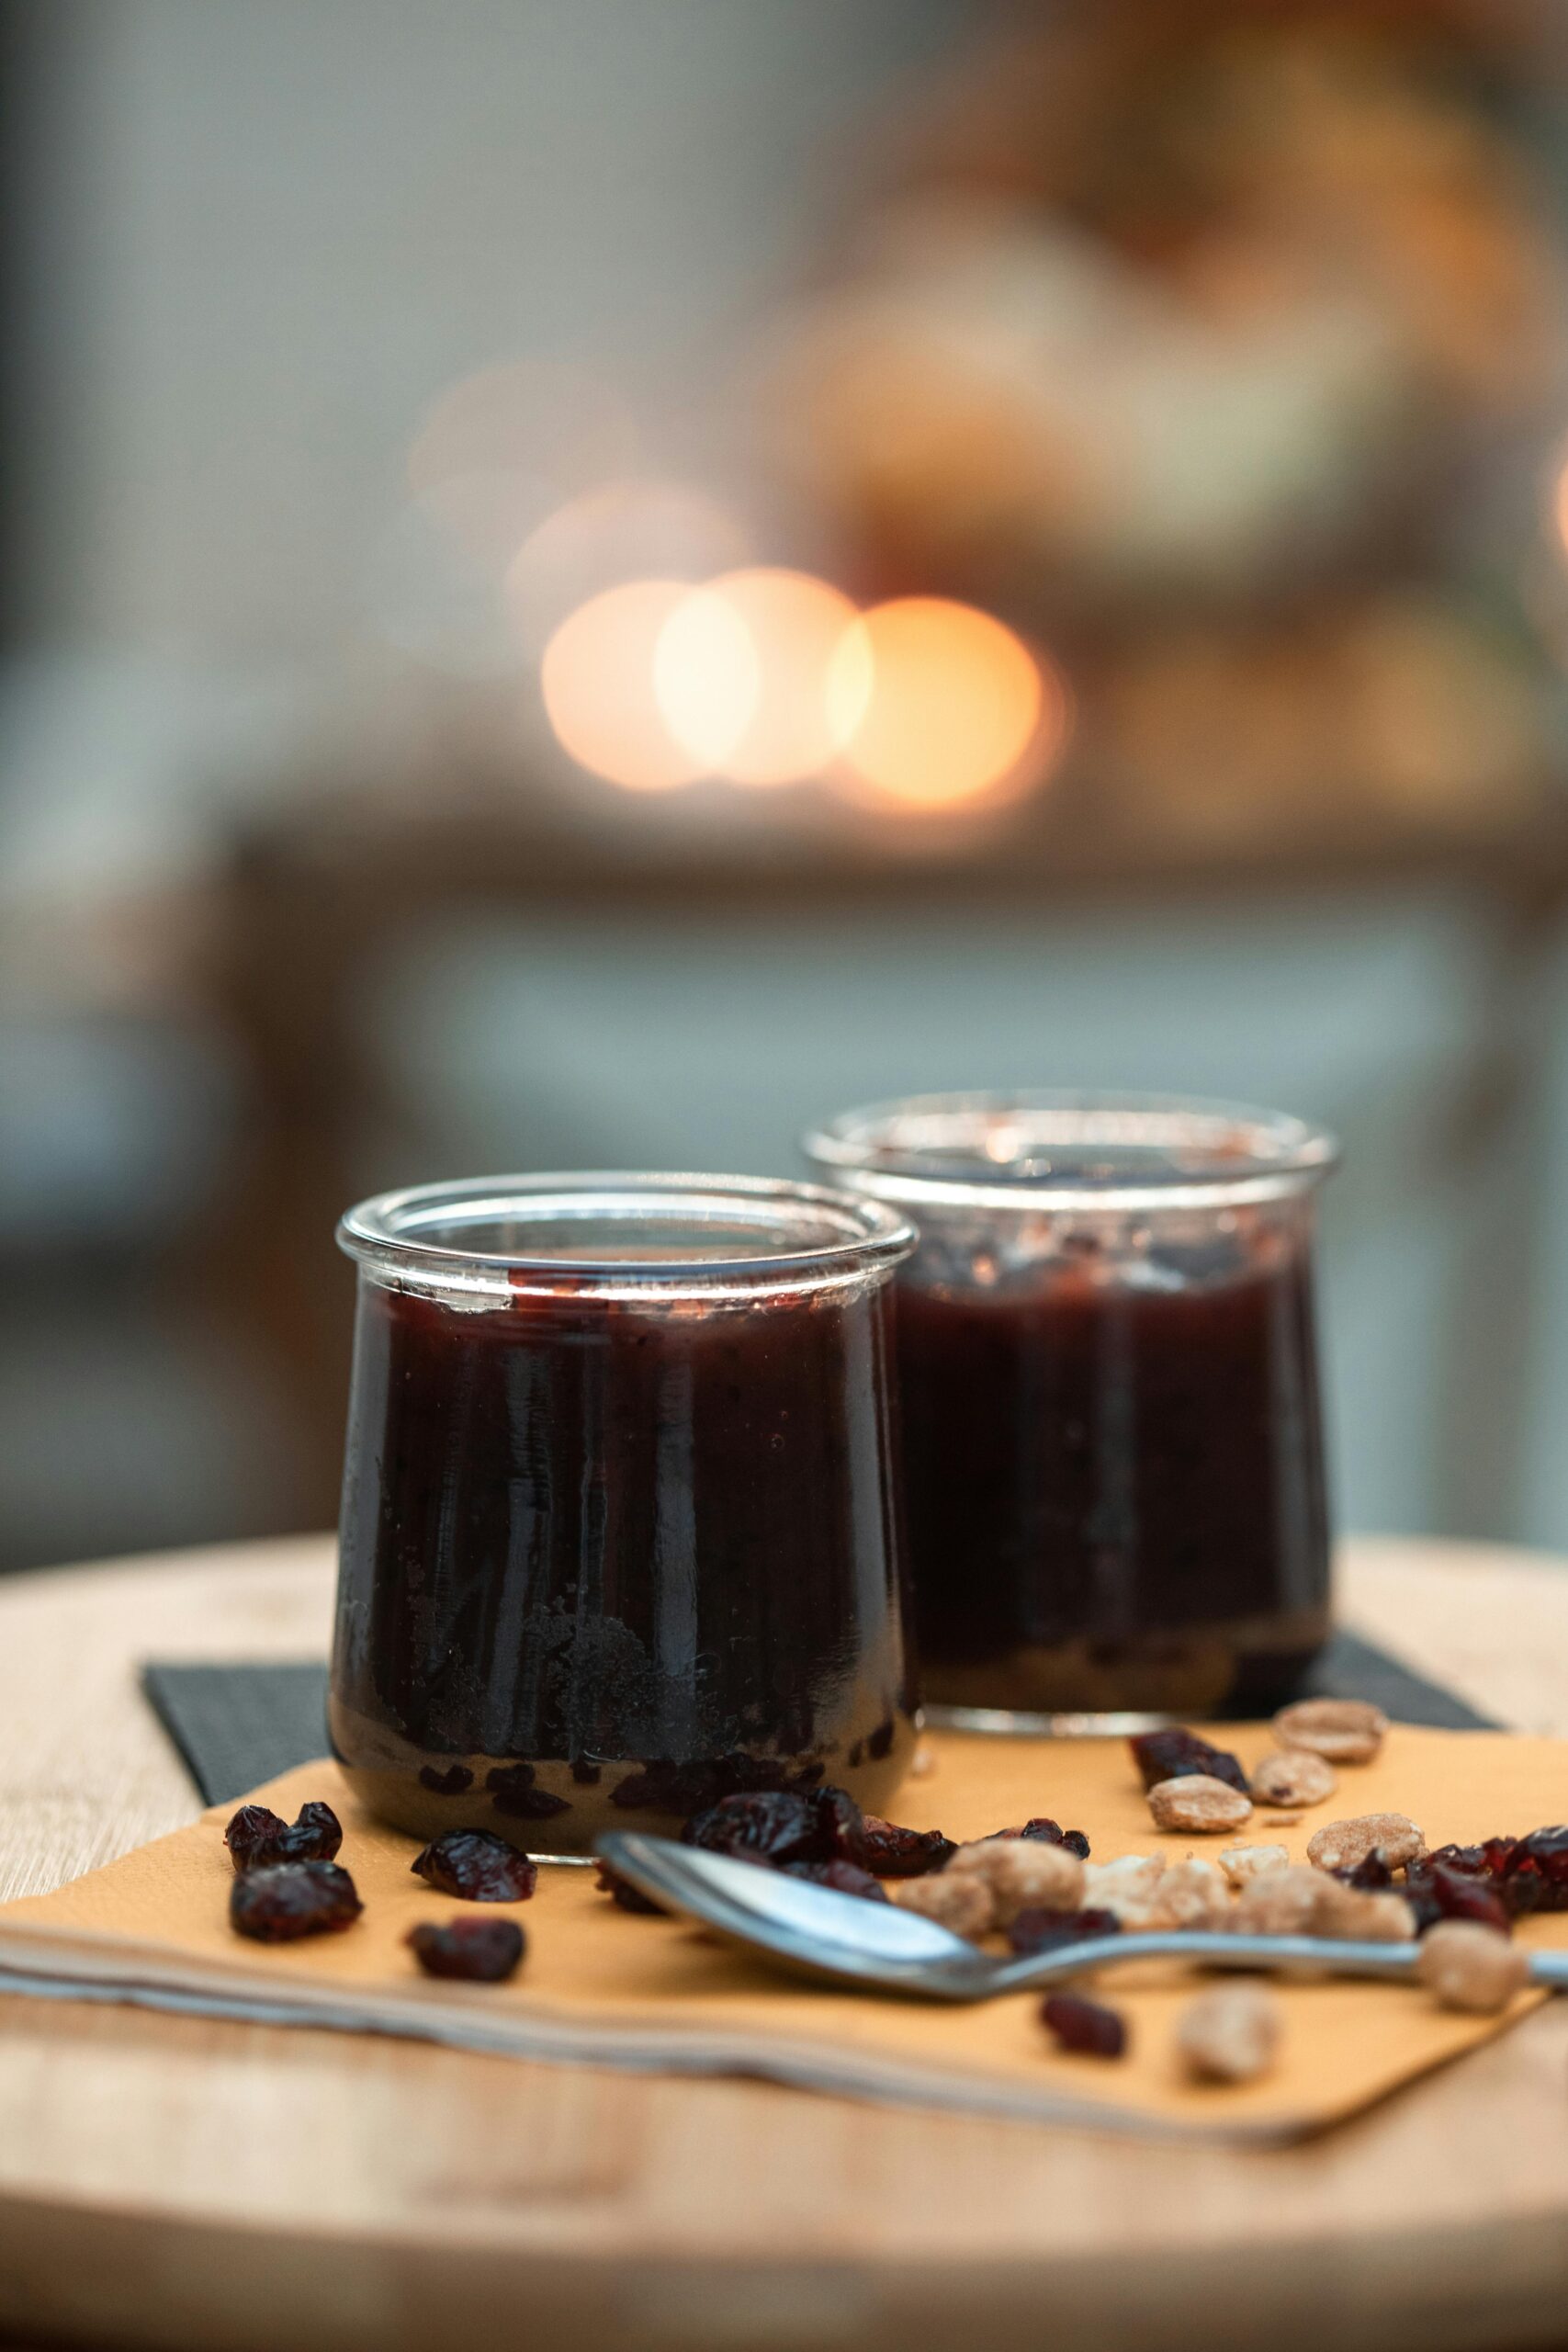
If you’ve been wondering how to make elderberry syrup at home, this simple guide will walk you through it step by step. It’s an easy, from-scratch recipe made with dried elderberries, warming spices, raw honey, and water with no artificial ingredients, no mystery additives.
Just simple ingredients and an old-fashioned kitchen rhythm.
My sourdough was flat and business was slow

When I first started homesteading, my sourdough was dense and flat, my garden struggled, and it seemed like I was scrambling to get people to notice my business, let alone, buy my products. And for a time, I burnt out.
After years of trial and error, analyzing hundreds of businesses from other sectors, and just pure grit...
I created a free Zero to Homestead Skool Community: a place where homesteaders of all levels share wins, troubleshoot challenges, and get guidance from experienced peers. By joining, you’ll access step-by-step guides to build traditional skills (sourdough, fresh milled flour, traditional foods, preserving, livestock, gardening, and more) plus full courses, workshops, and homestead business-building resources with a supportive network to help your homestead thrive.
What Is Elderberry Syrup?
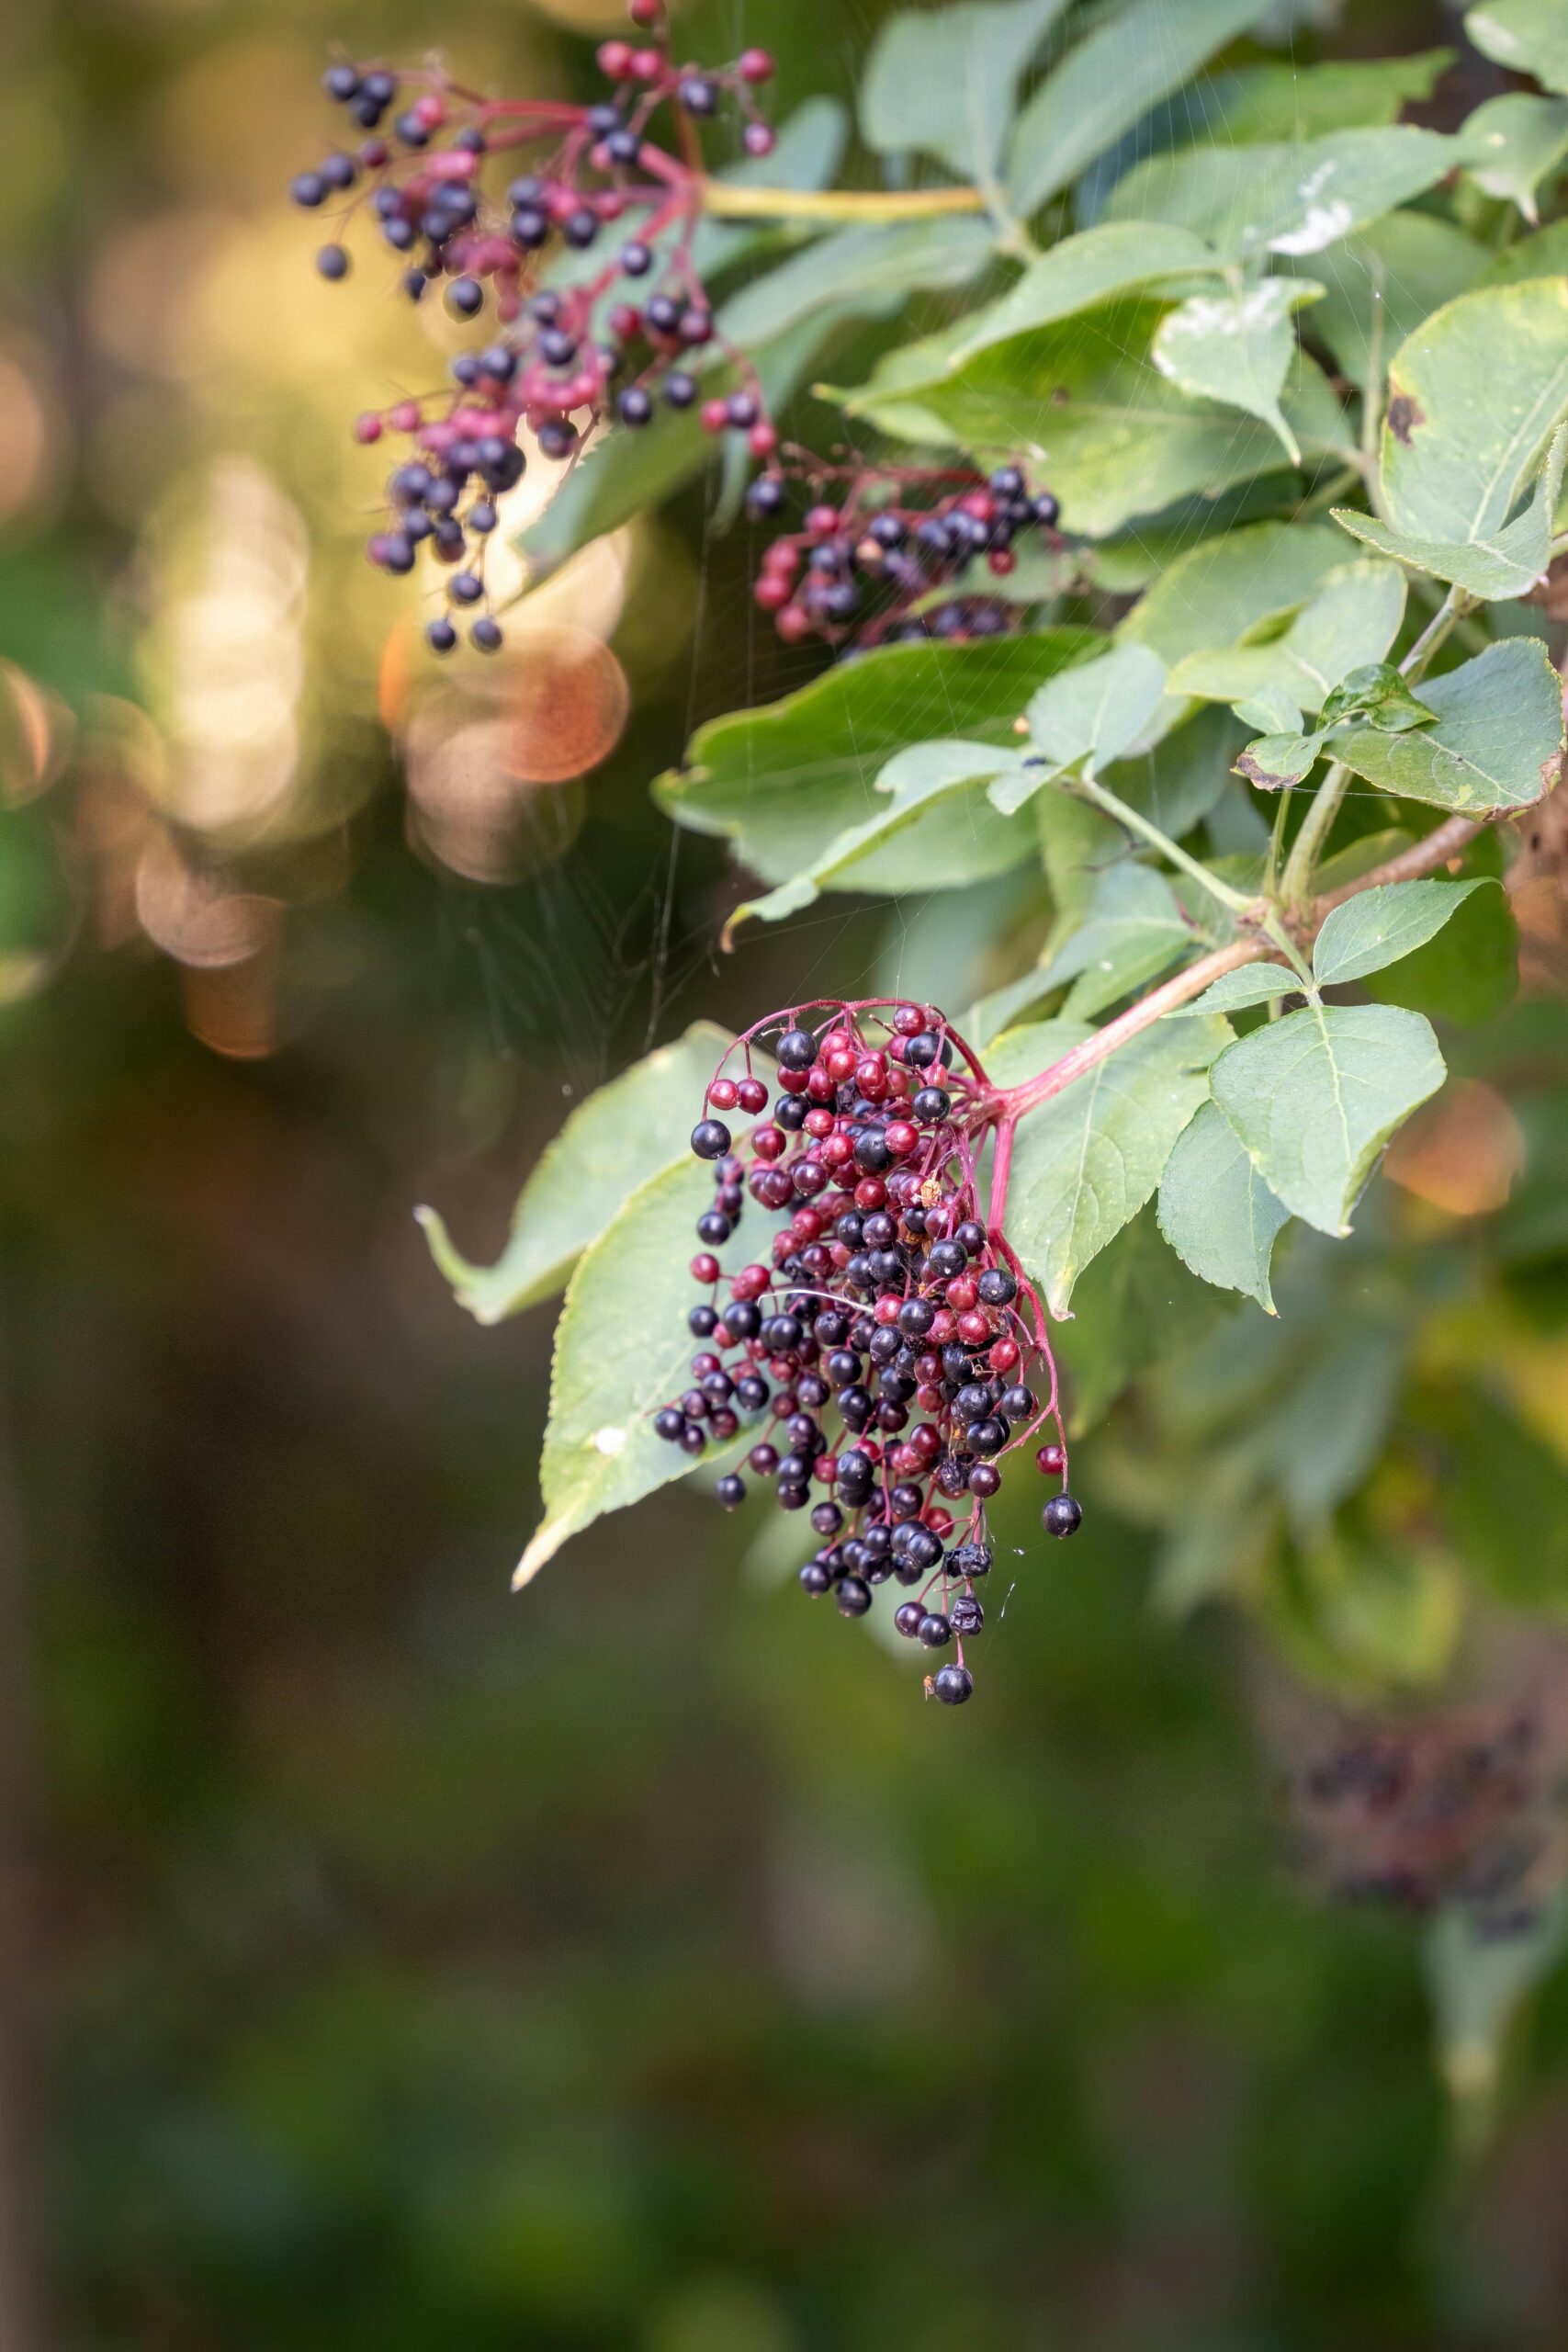
Elderberry syrup is a traditional herbal syrup made from the berries of the elder plant. For generations, it has been used during cold and flu season as part of a supportive wellness routine.
Elderberries are rich in antioxidants and naturally occurring compounds that many families turn to during the winter months.
Making your own syrup at home allows you to control ingredient quality, avoid preservatives, save money, adjust sweetness and spice levels, and keep a steady supply in your fridge.
Ingredients for Homemade Elderberry Syrup
- 1 cup dried elderberries
- 4 cups filtered water
- 1–2 cinnamon sticks
- 1 teaspoon whole cloves
- 1 teaspoon fresh grated ginger (or ½ teaspoon dried)
- 1 cup raw honey (added after cooling)
Step-by-Step: How to Make Elderberry Syrup
1. Simmer the Elderberries
In a medium saucepan, combine dried elderberries, water, cinnamon sticks, cloves, and ginger.
Bring to a gentle boil, then reduce to a simmer.
Let simmer uncovered for 30–45 minutes, until the liquid reduces by about half.
Your kitchen will smell warm and spiced like something slow and nourishing is taking shape.
2. Mash and Strain
Remove from heat.
Gently mash the berries with the back of a spoon to release more juice.
Strain through a fine mesh strainer or cheesecloth into a bowl or large measuring cup. Press well to extract as much liquid as possible.
Discard solids.
3. Cool Before Adding Honey
Allow the liquid to cool until warm but not hot.
Stir in raw honey until fully dissolved.
Adding honey after cooling preserves its beneficial properties.
4. Store Properly
Pour finished syrup into a clean glass jar with a tight-fitting lid.
Store in the refrigerator for up to 2–3 months.
How to Use Elderberry Syrup
Many families use elderberry syrup during seasonal transitions.
Common use guidelines:
- Adults: 1 tablespoon daily
- Children (over 1 year): 1 teaspoon daily
Some increase frequency during times of seasonal illness.
(Always consult a healthcare professional for personal guidance. Do not give honey to children under one year old.)
Tips for the Best Homemade Elderberry Syrup
- Use high-quality dried elderberries from a reputable source.
- Do not consume raw elderberries. Always cook them.
- Adjust spices to taste.
- Label your jar with the date made.
- Shake gently before using.
Why Make Elderberry Syrup at Home?
Store-bought elderberry syrup can be expensive and often diluted.
Making it yourself costs less per batch, gives you control over ingredients, creates a deeper connection to your seasonal wellness habits, and builds practical, herbal kitchen skills.
It’s one small way to rely less on the store and more on your own hands.
Frequently Asked Questions About Elderberry Syrup
Can you eat raw elderberries?
No. Raw elderberries should not be consumed. They must be cooked before use. Simmering the berries, as directed in this recipe, makes them safe to use in syrup.
How long does homemade elderberry syrup last?
When stored in a sealed glass jar in the refrigerator, homemade elderberry syrup typically lasts 2–3 months. Always check for changes in smell, taste, or appearance before using.
Can I freeze elderberry syrup?
Yes. You can freeze elderberry syrup in small portions using ice cube trays or freezer-safe containers. Thaw in the refrigerator before use.
Can I use fresh elderberries instead of dried?
Yes, but they must still be cooked thoroughly. If using fresh elderberries, you may need to adjust the water slightly since fresh berries contain more moisture.
Can I substitute the honey?
Yes. You may use maple syrup if avoiding honey, though the flavor will be slightly different. Do not give honey to infants under one year old.
How much elderberry syrup should I take daily?
Many families use:
- Adults: 1 tablespoon per day
- Children (over age 1): 1 teaspoon per day
Some increase use during seasonal illness. Always consult a healthcare professional for personalized advice.
Can I skip the spices?
Yes. Cinnamon, cloves, and ginger add warmth and flavor but are optional. You can adjust or omit them based on preference.
Does elderberry syrup replace medical treatment?
No. Elderberry syrup is traditionally used as part of a seasonal wellness routine, but it does not replace professional medical care. Consult your healthcare provider for medical concerns.
Why add honey after cooling?
Adding honey after the liquid cools helps preserve its natural properties and prevents overheating, which can diminish its quality.

A Rustic Rhythm of Seasonal Care
Simmering elderberries on the stove while the wind moves outside is one of my favorite things about fall and winter.
Homemade remedies don’t replace modern medicine, but they do remind us that kitchens have always been places of nourishment and care.
A jar of elderberry syrup in the fridge becomes part of your seasonal rhythm.
Join My Skool Community
If you’re learning traditional kitchen skills like making elderberry syrup, baking sourdough, preserving food, gardening, and building a practical homestead lifestyle, I’d love to invite you into my Skool community.
Inside, we focus on seasonal wellness habits, from-scratch cooking, food preservation safety, herbal kitchen skills, and sustainable homestead systems. It’s a place for steady growth and practical learning.
If you’re ready to build confidence in your kitchen and create rhythms that nourish your family well, come join us.
If you make this recipe, be sure to leave me a star rating and a comment below. Share what you made and tag me on Instagram@keepingitholistic! For more simple sourdough recipes & guidance, small-space gardening tips, and cozy, slow living inspiration, subscribe to my newsletter and follow me on YouTube and Instagram!
📖 Recipe
Homemade Elderberry Syrup
Equipment
- Medium saucepan
- Fine mesh strainer or cheesecloth
- wooden spoon
- Glass jar with lid
Ingredients
- 1 cup dried elderberries
- 4 cups filtered water
- 1-2 cinnamon sticks
- 1 teaspoon whole cloves
- 1 teaspoon fresh grated ginger or ½ teaspoon dried ginger
- 1 cup raw honey added after cooling
Instructions
Simmer the Elderberries
- In a medium saucepan, combine dried elderberries, water, cinnamon sticks, cloves, and ginger.
- Bring to a gentle boil, then reduce heat and simmer uncovered for 30–45 minutes, until liquid reduces by about half.
Mash and Strain
- Remove from heat. Gently mash berries with the back of a spoon.
- Strain mixture through a fine mesh strainer or cheesecloth into a bowl, pressing to extract as much liquid as possible. Discard solids.
Cool and Add Honey
- Allow liquid to cool until warm (not hot).
- Stir in raw honey until fully dissolved.
Store
- Pour into a clean glass jar with a tight-fitting lid.
- Store in the refrigerator for up to 2–3 months.
Notes

Hi, I’m Victoria!
I document our homesteading journey on YouTube: covering sourdough, fresh milled bread, gardening, and simple living. Click here to watch, learn, and be inspired to start your own homestead at home.


Comments
No Comments