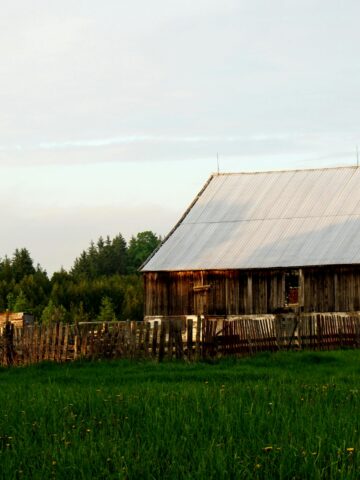
In a quiet kitchen filled with the steady rhythm of simmering water and the gentle clink of glass jars, water bath canning brings the old ways of food preservation back to life. It’s a method that generations before us relied on to tuck summer’s abundance safely onto pantry shelves, and it remains one of the simplest, most approachable ways for beginners to start preserving at home.

This beginner’s guide to water bath canning will walk you through what it is, what foods are safe to can, and how to do it step by step, so you can build a pantry with confidence and peace of mind.
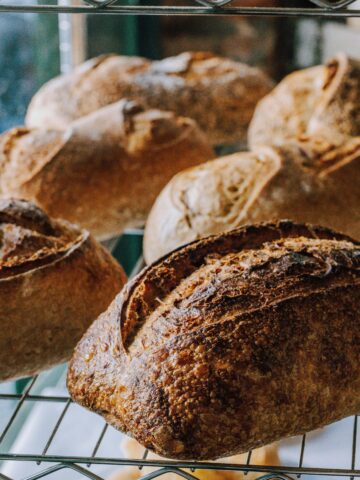
My sourdough was flat and business was slow

When I first started homesteading, my sourdough was dense and flat, my garden struggled, and it seemed like I was scrambling to get people to notice my business, let alone, buy my products. And for a time, I burnt out.
After years of trial and error, analyzing hundreds of businesses from other sectors, and just pure grit...
I created a free Zero to Homestead Skool Community: a place where homesteaders of all levels share wins, troubleshoot challenges, and get guidance from experienced peers. By joining, you’ll access step-by-step guides to build traditional skills (sourdough, fresh milled flour, traditional foods, preserving, livestock, gardening, and more) plus full courses, workshops, and homestead business-building resources with a supportive network to help your homestead thrive.
What Is Water Bath Canning?
Water bath canning is a preservation method used for high-acid foods. Jars are fully submerged in boiling water for a specific amount of time to destroy harmful microorganisms and create a vacuum seal as they cool.
This method is ideal for:
- Fruits
- Jams and jellies
- Pickles and relishes
- Tomatoes (with added acid)
- Fruit juices and applesauce
Because acidity prevents the growth of botulism, these foods can be safely processed in boiling water rather than under pressure.
What You’ll Need
- Large stockpot or water bath canner with rack
- Glass canning jars with new lids and rings
- Jar lifter
- Canning funnel
- Bubble remover or wooden skewer
- Clean towels
- Tested, trusted recipes

Step-by-Step: How to Water Bath Can
1. Prepare Your Jars
Wash jars in hot, soapy water and keep them warm. Heat lids according to manufacturer instructions.
2. Prepare Your Recipe
Follow a tested canning recipe exactly, paying close attention to acid levels and processing times.
3. Fill the Jars
Using a funnel, fill jars with hot food, leaving proper headspace. Remove air bubbles and wipe rims clean.
4. Apply Lids
Place lids on jars and screw bands on fingertip-tight.
5. Process in Boiling Water
Lower jars into boiling water, ensuring at least 1–2 inches of water covers the lids. Cover and process for the time specified in your recipe.
6. Cool and Seal
Remove jars and let them cool undisturbed for 12–24 hours. You should hear the satisfying “pop” as lids seal.
7. Check Seals and Store
Press the center of each lid. If it doesn’t flex, it’s sealed. Label and store in a cool, dark place.
Common Beginner Mistakes to Avoid
- Skipping acid in tomato recipes
- Changing jar size or processing time
- Using old or damaged lids
- Overtightening rings
- Not fully submerging jars
Why Start with Water Bath Canning?
For beginners, water bath canning is:
- Affordable (minimal equipment)
- Straightforward
- Ideal for small batches
- Perfect for learning safe preservation habits
It’s the gateway into a fuller, more self-reliant pantry.

A Tradition Worth Keeping
Water bath canning is more than a kitchen task: it’s a rhythm of the seasons, a way to honor harvest, and a skill that brings quiet satisfaction. Each sealed jar holds more than food; it holds security, nourishment, and the comfort of knowing you provided well for your home.
Starting with this gentle method sets the foundation for a lifetime of confident preserving, one bubbling pot and one sealed jar at a time.
If you’re ready to take your water bath canning skills to the next level, join my homestead community! Inside, you’ll find step-by-step tutorials, seasonal preserving guides, live demos, and a supportive group of homesteaders sharing tips, recipes, and encouragement. Connect with fellow beginners, ask questions, and build a pantry filled with confidence one beautifully sealed jar at a time.
Comments
No Comments